Turn off the line, cut the tubing straight, push each end into the cartridge with the arrow pointing toward the fridge or faucet, fasten it in place, and run 2 to 3 gallons through. Most people are done in about 15 minutes. Shop our inline water filters.
Which guide fits your system? An inline filter splices into an existing 1/4-inch line, like the one feeding your fridge or ice maker. If your Woder unit screws onto the shutoff valve with threaded hoses, use our Direct Connect (DC) guide. If you’re working with push-in John Guest fittings on a kitchen drinking line, the JG Quick-Connect guide goes deeper on the fittings.
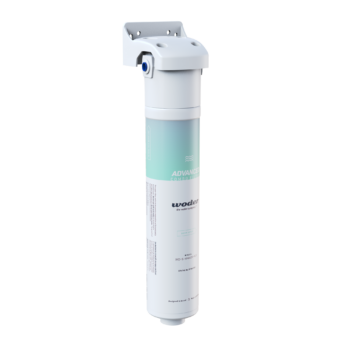
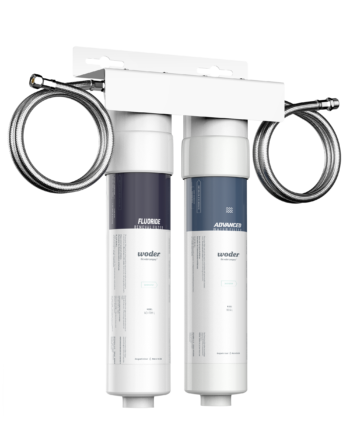
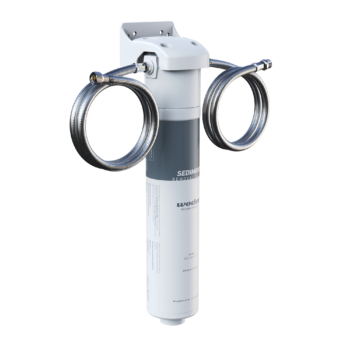
An inline unit is a slim cartridge that sits in the middle of a line. Flow goes in one end, passes through our Advanced Selective Filtration media, and comes out the other end clean. No bulky housing, no extra faucet. That’s why people put them behind the fridge, under the sink, or inside an RV cabinet.
This guide shows how to install under sink water filter cartridges and fridge filters that use an inline connection. Budget about 15 minutes.
Where It Should Go
Decide on the spot before you cut anything.
Behind the fridge is the classic choice. Most refrigerators get their water through a refrigerator water line running from a valve under the sink or a small box in the wall. You can splice the filter in anywhere along that run, as long as you can reach it later.
Under the kitchen sink works too. If you’ve wondered how to install a water filter under the sink without a big housing, an inline unit is a tidy answer. Put it on the line that feeds your drinking faucet or the fridge.
A standalone ice maker line works the same way, and clear, odor-free ice is usually the first thing people notice. In an RV, mount the unit inside a cabinet near the pump or the galley faucet.
Wherever it goes, make sure you can pull the fridge out or open the cabinet when it’s swap time.
Step by Step
Here’s how to install an under sink water filter or fridge filter with an inline connection.
Step 1: Turn Off the Supply
Close the valve that feeds the line. For a fridge, that’s usually under the kitchen sink or behind the fridge in a little wall box. Press the dispenser to let the pressure out.
Step 2: Cut the Line
Find a straight section of the 1/4-inch supply line where the filter should sit. Cut it with a tubing cutter or a sharp utility knife. Go straight across, not at an angle, and keep a towel handy for what’s left in the line.
Step 3: Connect Both Ends
Find the flow direction arrow on the cartridge. It has to point away from the valve and toward the fridge or faucet. Push the line from the valve into the inlet end until it stops, then push the other side into the outlet. Snap on lock clips if your system has them.
Step 4: Secure It
Use the mounting clips to fasten the cartridge to the cabinet wall or the back of the fridge. Otherwise it swings around and stresses the connections every time the fridge moves.
Step 5: Turn On and Flush
Open the valve slowly and check each end with a dry paper towel. Then flush before use: run 2 to 3 gallons through the dispenser or faucet, and toss the first batch of ice. The first few cups can look cloudy. That’s air, and it clears fast.
Why People Like Inline Units
If you’ve been shopping for an easy-to-install under-sink water filter, inline checks most of the boxes. Nothing gets drilled. Push-in ends need no tools beyond a cutter for the line. The unit is small enough for tight spots, and it comes apart in seconds when you move.
An in-line water filter quick connect setup also makes swaps quick. Nobody has to come out, and you don’t book anything.
When Something’s Off
A drip at one end usually means the line isn’t pushed in far enough or the cut is angled. Turn off the water, release the line, trim a clean square end, and push it back in until it stops.
A slow dispenser? Check that the arrow points the right way and the valve is fully open. A kinked line behind the fridge is another common culprit, so look at it when you slide the fridge back. An odd taste in the first ice is normal after any change, so toss a batch or two. If it sputters, there’s still air in there. Run another gallon or so.
Changing the Cartridge
Most Woder inline cartridges last six to twelve months, depending on use. When it’s time, turn off the water and press the dispenser to release pressure. Remove the clips, press the collets, and pull the line out of each end. Push the line into the new cartridge, matching the arrow, then turn the water back on, check for drips, and flush.
Replacements are on our replacement cartridges page. Want to compare inline with other formats? Our guide to the types of water filters covers them all.
Frequently Asked Questions
Can I install an inline filter on my fridge supply line?
Yes. Most refrigerators use a standard 1/4-inch line, which is exactly what Woder inline filters are built for. Turn off the supply, cut the line, push both ends into the filter, and flush before drinking. Check your product page to confirm the fitting size first.
Which way should the flow arrow point on an inline filter?
The arrow should point in the direction the flow travels, away from the shutoff valve and toward the fridge, ice maker or faucet. Installed backward, the filter won’t work as designed and flow may drop. If you notice that, just flip it around.
How much should I flush through a new inline filter?
Run about 2 to 3 gallons through the dispenser or faucet before you drink. That clears out air and fine carbon dust from the new cartridge. If your fridge has an ice maker, throw away the first full batch of ice as well.
How often should an inline filter be replaced?
Most Woder inline cartridges last six to twelve months, depending on how much you use them. A household that drinks a lot from the fridge may need to swap sooner. Slower flow from the dispenser is a sign the cartridge is near the end of its life.


