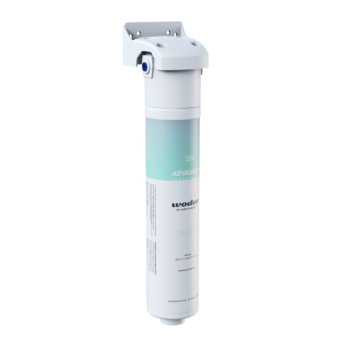
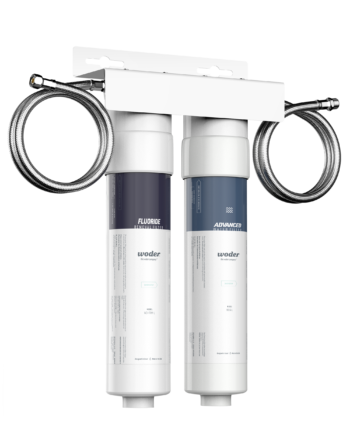
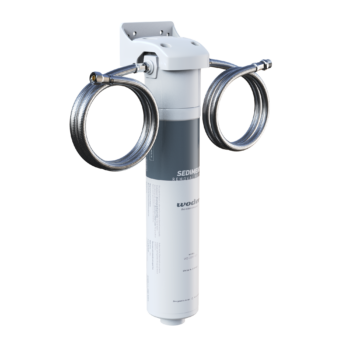
A faucet-mounted filter usually needs a new cartridge every 2 to 4 months, sometimes around 100 to 200 gallons, while some higher-capacity cartridges can stretch to 18 months or 600 to 800 gallons depending on water quality and use (replacement timing guidance). That short cycle is why water filter faucet replacement is less about “fixing” a problem and more about routine upkeep that keeps flow usable and filtration effective. It’s also why a quick swap can matter more than people expect, because clogged faucet filters can cut flow by about 20% to 50% (same guidance).
The good news is that replacement is usually straightforward once you know where the friction lives. The cartridge is rarely the hard part. The harder part is often the plumbing around it, the seal at the housing, and whether your faucet setup is compatible before you buy.
Table of Contents
- Why Water Filter Faucet Replacement Matters
- Tools and Valve Checks Before You Start
- Replacing a Faucet-Mounted Filter Cartridge
- Swapping a Dedicated Filter Faucet
- Leak Testing and Flush Sequence
- Choosing a Certified Replacement Cartridge
- Your Next Step Toward Cleaner Water
Why Water Filter Faucet Replacement Matters
A faucet filter is easy to ignore until the flow slows or the water starts tasting flat. The reason is straightforward, the cartridge wears out sooner than many homeowners expect, and that wear affects both filtration capacity and usable flow. Faucet-mounted cartridges usually need attention on a tighter schedule than under-sink systems, which are often built for longer service intervals. For a practical sense of how filter life varies by setup, this overview of filter lifespan gives useful context.
Practical rule: if the stream has become noticeably sluggish, replacement is already part of the fix, not an optional upgrade.
That flow drop is more than a nuisance. A clogged faucet filter can make the sink harder to use for cooking, filling kettles, or rinsing produce. In real homes, that is usually what pushes people to replace the cartridge earlier than planned. The filter is handling two jobs at once, catching contaminants and keeping water moving through a small body, so buildup shows up as a performance loss long before the cartridge looks full.
The replacement market reflects that pattern. Cartridges are recurring purchases, not a one-time add-on. A market estimate places the home water filtration replacement category at USD 8.3 billion in 2025, with growth projected through the following years, and it also points to strong demand in North America. That scale matches what installers see in the field, homes keep using point-of-use filtration, so cartridges keep getting swapped.
The main bottleneck is usually not the cartridge itself. It is the upstream fit. If the valve outlet, adapter, or sealing surface does not match the replacement, the job becomes harder and leak-prone no matter how carefully the cartridge is installed. That is why a pre-purchase fit check matters before any swap.
For homeowners comparing the broader DIY side of the job, the fixture replacement tips for homeowners cover the same kind of planning that applies here, access, sealing, and the space around the sink.
Tools and Valve Checks Before You Start
Essential tools and a quick fit check
Before you touch the housing, confirm that your plumbing matches the replacement you plan to install. That sounds basic, but older kitchens and apartment sinks often surprise people. One installation guide notes that 3/8-inch angle valve outlets connect directly, while 1/2-inch outlets need a converter, and another recommends replacing a single-port angle stop with a dual-port model so the faucet and filter can be serviced separately (retrofit compatibility guidance).
Compatibility matters more than force. If the valve and adapter path are wrong, tightening harder won’t solve it, and it can make the next service cycle worse.
A solid pre-install kit usually includes an adjustable wrench, plumber’s tape, a bucket, and a couple of towels. If the space under the sink is tight, a faucet swap-out wrench can save time because it reaches the nut without fighting the cabinet walls. For that, browse the faucet swap wrench from Value Tools Co. and compare it to the space you have under the sink.
An older home or rental may need a little more planning. Limited cabinet clearance, corroded shutoffs, or nonstandard threads can turn a quick cartridge change into a small plumbing project. If the shutoff valve feels stiff, look at the valve body before the cartridge. You want a clean shutoff you can trust when it’s time to depressurize the line.
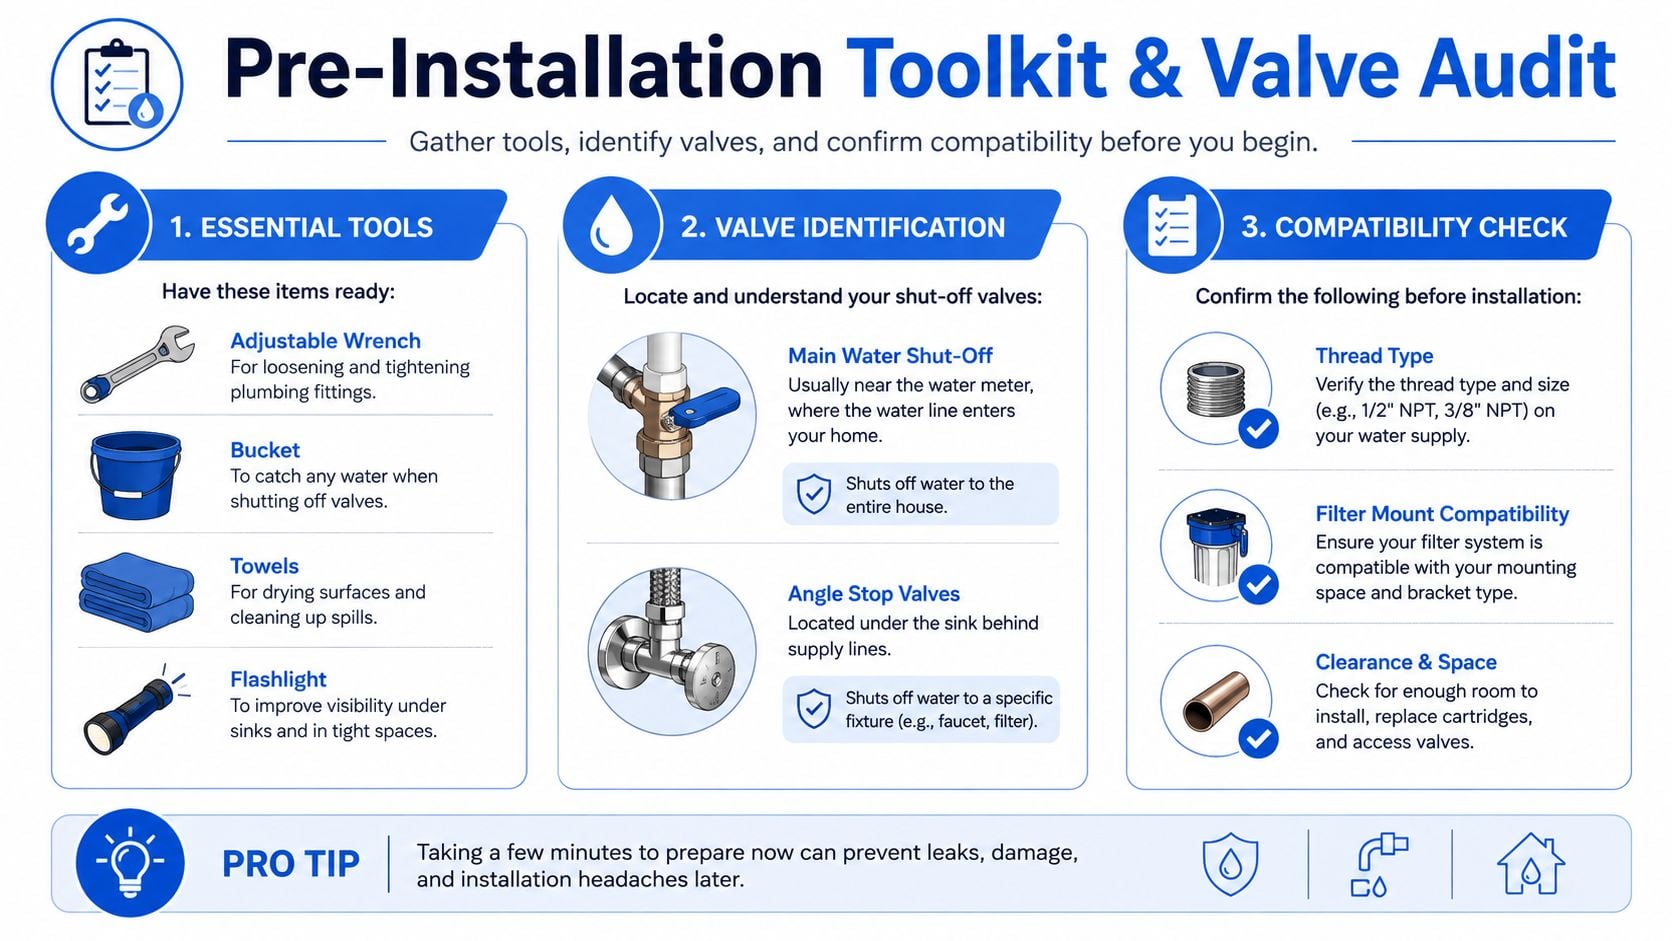
A simple under-sink audit helps before you buy a replacement cartridge or faucet body:
- Shutoff access: Make sure you can close the local supply without reaching past sharp edges or buried plumbing.
- Valve type: Check whether the outlet is 3/8-inch or 1/2-inch, since that decides whether you need an adapter.
- Space for service: Leave room for future swaps, not just today’s install.
- Thread and mount fit: Confirm the replacement uses the same connection style and housing format.
- Parts on hand: Keep tape, towels, and the adapter ready before loosening anything.
For homeowners in older buildings, this is the part that usually saves the most time. A cartridge that fits the media spec but not the valve path is still a bad purchase.
Replacing a Faucet-Mounted Filter Cartridge
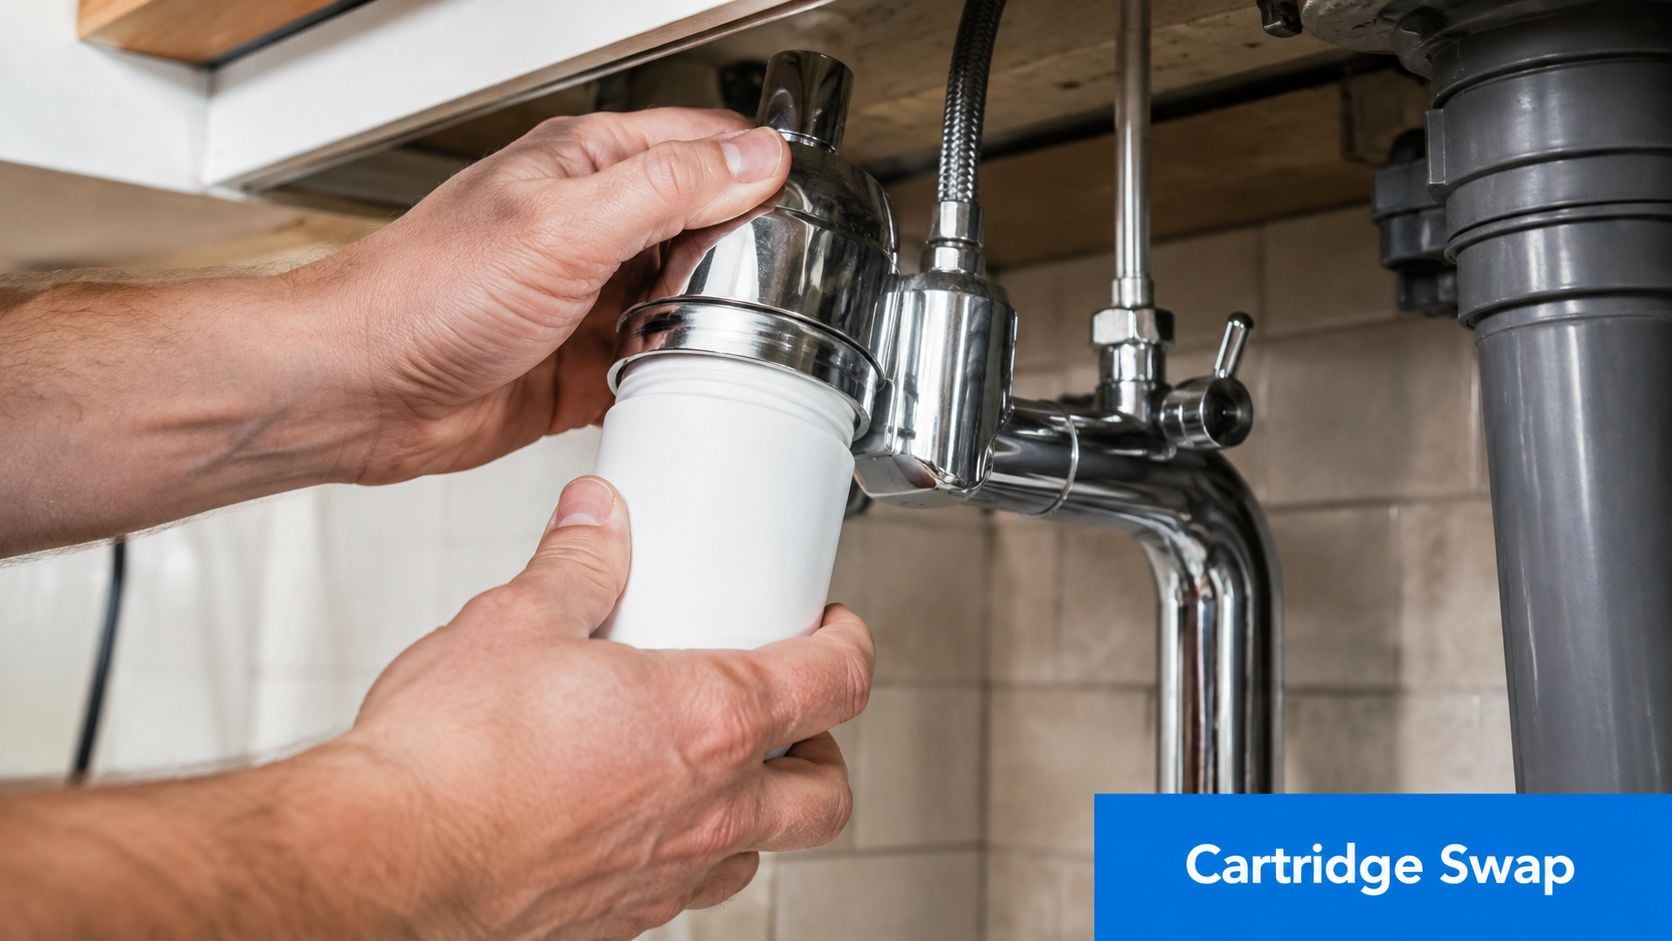
Most cartridge swaps fail at the same point, the housing is under pressure or the seal is not seated correctly. Shut off the local supply, open the filtered faucet, and let the line drain before you touch the canister or cartridge. If you skip that step, the housing can spray, the threads can bind, and the seal can shift as soon as you break it open. Manufacturer installation guidance follows the same order for a reason.
Once the pressure is out, remove the housing and inspect the O-ring before anything else. Look for dryness, pinching, twists, or a ring that has slipped out of its groove. Re-seat it carefully if needed, because most leaks start at that contact point, not in the cartridge media itself. Hand-tighten the housing first, then use only the light wrench help the manufacturer allows. Excess force can flatten the gasket and make the next service cycle harder.
Seal integrity matters more than force. A housing that closes with brute pressure often leaks later, and it is harder to reopen without damage. If the cap feels resistant before it seats fully, stop and check the ring, the threads, and the housing alignment instead of driving it tighter.
If your setup uses a point-of-use inline filter rather than a basic faucet housing, the same fit check still applies. The Woder Advanced Inline Water Filter WD-G4-JG is a U.S.-made inline filter that uses advanced selective filtration and keeps essential minerals in the water, which is the kind of difference that matters when you compare replacement styles for a kitchen line. Before you buy, confirm the connection type, the available clearance, and the direction of flow so the swap matches the plumbing path instead of fighting it.
A flush sequence clears trapped air and carbon fines after the new cartridge goes in. The usual guidance calls for a 5-minute flush, a 1-hour wait, then another 5-minute flush. That is not busywork. It clears the line before normal use and gives you a chance to spot a slow seep while the cabinet is still open.
The common mistakes are predictable, and they are avoidable. A mis-seated O-ring, skipped pressure relief, or an over-torqued housing can leave a drip that shows up after the cabinet dries and the line is back under pressure. If the housing needs more than a little hand effort to close, stop and inspect the seal instead of tightening harder.
If your replacement uses tubing or a connector style you have not handled before, keep the installation guide open while you work. For a separate point of comparison, the partner note on how to replace RO membrane shows the same habit in a different filtration setup, confirm the fit first, then make the swap. A careful check up front saves a second trip to the hardware store.
Swapping a Dedicated Filter Faucet
A dedicated filtered-water faucet is a different job from a cartridge swap, even though homeowners often use the same phrase for both. Here you’re replacing the tap body itself, so the main issues are tubing direction, washer fit, and how cleanly the new faucet seats at the mounting hole. Quick-connect guidance makes the sequence plain, close the dedicated valve, depressurize the line until flow stops, then remove the old faucet with the right release method for the fitting style (quick-connect installation guidance).
The seal comes from the parts matching properly, not from cranking the hardware down. OEM installation guidance for related faucet installs stresses full hand-tightening and the correct washer or adapter fit, which is the lesson here too. If the washer stack is wrong or the tubing isn’t fully seated past the collet, the joint will leak no matter how hard you turn the nut.
Seal integrity beats force. That’s true under the sink, at the faucet body, and at every push-fit connection in the line.
When the new faucet goes in, align it with the flow direction before you tighten anything. Reversed inlet and outlet lines are one of the most common self-inflicted mistakes, and they’re easy to miss until the restart. Push tubing fully past the collet ring, seat the faucet squarely in the hole, and keep the bend radius gentle so the line doesn’t kink behind the cabinet wall.
If you’re comparing a faucet-body swap with a reverse osmosis setup, how to replace RO membrane is a useful contrast point because it shows how much of the work in water filtration is really about respecting fittings, direction, and pressure. The mechanics are different, but the same idea holds, clean install work depends on the connections being correct before you ever run water.
Leak Testing and Flush Sequence
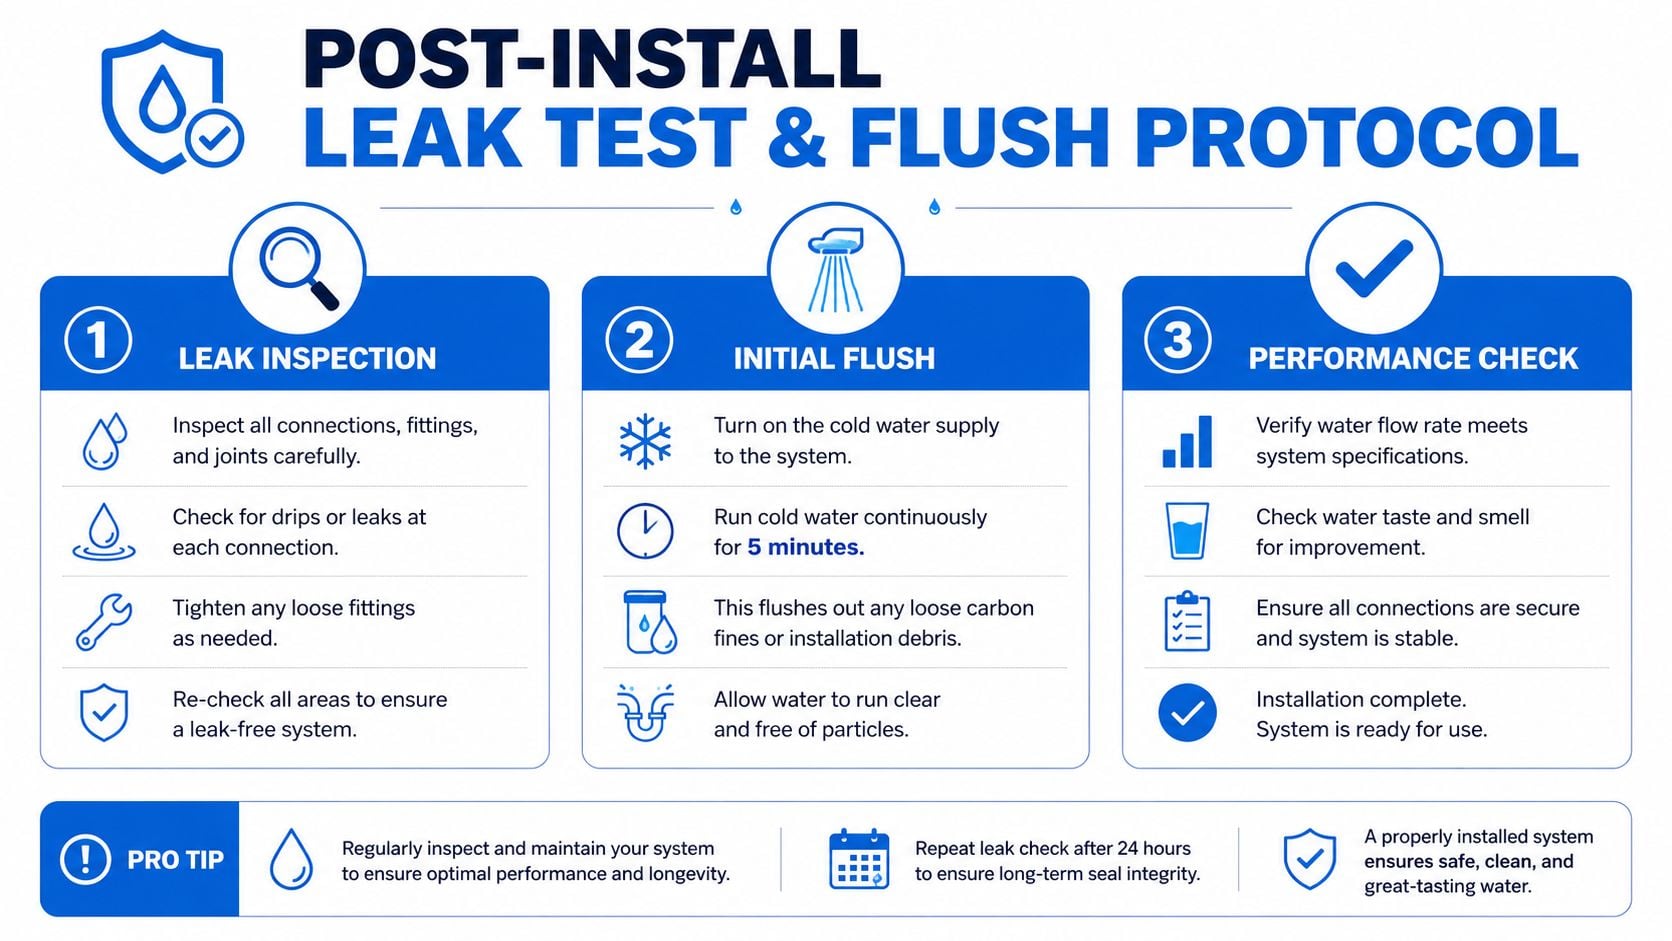
Leak checks start with controlled pressure, not a full open valve. Bring water back slowly and watch the housing seam, the O-ring interface, and the faucet body as the system repressurizes. A drip at startup usually points to a seal issue, and it is better to stop there than let the line run and mask the problem.
The first flush does more than clear the cartridge. It also shows whether the line still has trapped air, whether the cartridge seated cleanly, and whether the fittings hold under flow. Sputtering or a short burst of spray often means the system was not fully depressurized before restart, or the cartridge and gasket stack need another look. A housing that seals correctly should tighten by hand, with only a light wrench assist if the setup calls for it.
A simple checklist keeps the test honest:
- Look at the seams: Check the housing joint and faucet base for fresh moisture.
- Listen to the flow: Sputtering points to air or a rushed restart.
- Feel the cabinet floor: A dry paper towel under the fittings shows leaks faster than your eyes do.
- Recheck after the flush: Some drips only show up after the first few minutes of pressure.
Flush according to the cartridge instructions, then pause if the guide calls for a rest period and run it again afterward. That second pass clears loose carbon fines and confirms the system stayed sealed through a full restart cycle. If the flow stays steady and the cabinet stays dry, the replacement is holding the way it should. If you are still decoding labels or fixture ratings before you buy the next cartridge, the WQA and NSF-ANSI water quality alphabet soup guide is a useful reference for sorting the terms without guesswork.
Choosing a Certified Replacement Cartridge
For replacement cartridges, the label carries more weight than the marketing copy. NSF/ANSI 53 lead certification shifted in 2020 from a 10 µg/L benchmark to a stricter 5 µg/L benchmark for post-2019 certified filters, so the certification context and the date behind it matter (NSF/ANSI 53 review). A filter can advertise “lead reduction” and still leave you guessing about the standard behind that claim.
| NSF/ANSI 53 Lead Cert Pass Rates (2024 Review) | ||
|---|---|---|
| Filter Type | Pass Rate | Devices Tested |
| Faucet-mounted | 98% | 1,449/1,486 |
| Under-sink | 88% | 22/25 |
| Pitcher | 79% | 132/167 |
That table matters because it separates performance categories from marketing language. In a 2024 review of 1,678 tested devices, 96% passed the relevant benchmark overall, as noted in the same review. For homeowners, the practical question is simple: does the cartridge you are buying match the certification you care about, and is it certified for the type of fixture you are installing?
If the certification language on a product page or label feels hard to sort out, the WQA and NSF-ANSI water quality alphabet soup breakdown helps decode the jargon without turning it into a guessing game. The key is a certification statement that matches both the installation type and the contaminant you want addressed.
A replacement cartridge that keeps the water moving, fits the housing, and carries the right post-2019 certification is doing the job you paid for. That standard is more useful than vague promises or a zero-TDS obsession that says more about mineral stripping than drinking-water quality.
Your Next Step Toward Cleaner Water
The hardest part of water filter faucet replacement is often the part nobody thinks about first, the valve, adapter, or faucet body that makes the cartridge easy or difficult to service later. Once you know your shutoff type and confirm the seal path, the rest becomes routine maintenance instead of trial and error. That’s the point of being informed without being overwhelmed.
For many homes, the best next move is to verify the fitting under the sink, match the cartridge to a real certification, and keep the replacement cycle on a calm schedule. A U.S.-built, certified filter that uses selective filtration and retains essential minerals is a practical fit for a lot of households, especially when you don’t want to trade good-tasting water for unnecessary complexity. The choice stays yours, which is how it should be.
If you want a straightforward place to start, Woder Filters offers point-of-use systems, replacement cartridges, and installation resources designed for homeowners who want cleaner water without stripping out the minerals that belong in it. Check your valve type, confirm the fit, then choose the cartridge path that matches your sink and your routine.