You notice it when the bathroom light hits the faucet just right. There’s a chalky film on the chrome, white crust at the base of the spout, maybe a ring around the showerhead that doesn’t wipe off easily. That’s usually calcium buildup, and it’s frustrating because it looks like dirt even when the underlying issue is mineral-rich water drying on the surface.
The useful shift is to treat it as a surface problem and a water-quality clue at the same time. You can clean the deposit, but if the same residue keeps coming back, the water itself is telling you something about hardness, evaporation, and where minerals are settling out. For a quick visual comparison on what hard water spots look like in other contexts, see removing stubborn boat water spots, which uses the same basic mineral logic you see on faucets and glass.
Table of Contents
- That Chalky Buildup on Your Faucets and What It Means
- Why Calcium Deposits Form in the First Place
- How to Safely Clean Deposits from Different Surfaces
- A Step-by-Step Method for Stubborn Buildup
- When to Stop Cleaning and Start Preventing
- The Difference Between Hard Minerals and Harmful Contaminants
That Chalky Buildup on Your Faucets and What It Means
That white crust on a faucet does not automatically mean the water is unsafe. In most homes, it means water carrying dissolved minerals landed on the fixture, dried, and left those minerals behind as a visible deposit. The result is familiar, a dull ring, a rough patch, or a chalky edge that keeps coming back after cleaning.
Why it shows up where you can see it
Calcium deposits usually collect anywhere water lingers, especially around faucet bases, showerheads, aerators, and seams. They are easier to spot where drips hit the same area again and again, because each drying cycle adds another thin layer. A faucet can look clean right after wiping, then show spots again after one day of use.
The point is that this is mineral residue, not ordinary grime. You are not only dealing with grease or soap film, you are dealing with water that leaves a trace behind every time it evaporates. Homeowners who clean tile or glass see the same problem, and window and tile care guides from Jennifer Gilmer Kitchen & Bath are useful here because material-safe cleaning matters as much as the cleaner itself.
Practical rule: if the residue returns only where water dries, start by thinking about mineral buildup, not dirt.
That also explains why aggressive scrubbing usually disappoints. Once the deposit bonds to the surface, elbow grease alone does not change the chemistry. A cleaner that dissolves mineral scale, used on the right material, does. For heavier buildup on tough spots, removing stubborn boat water spots follows the same basic idea, because the mineral problem is the same even when the surface is different.
A quick check also helps separate surface staining from water quality concerns. If the spots appear on fixtures, glass, or tile where water evaporates, you are usually looking at hard-water residue. If the taste, color, or smell of the water has changed, that points to a separate issue and deserves a closer look. Information on hard water basics and what mineral-heavy water does in the home helps make that distinction clear without turning every chalky mark into a larger alarm.
Why Calcium Deposits Form in the First Place
Hard water leaves minerals behind when it dries
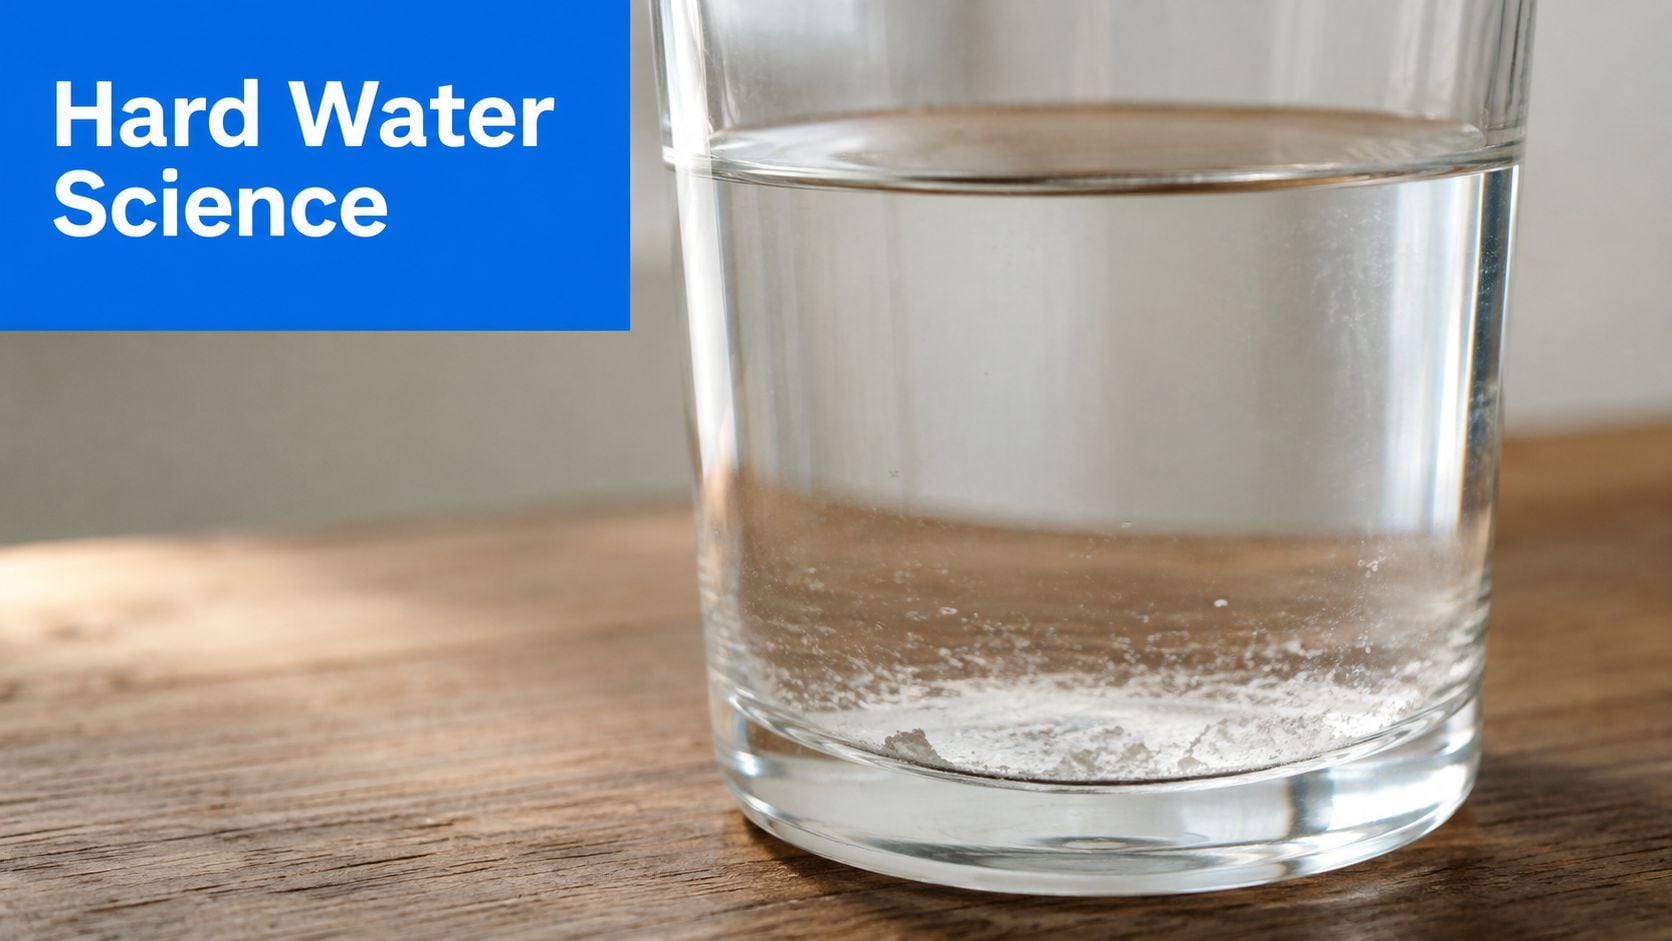
Calcium deposits on household fixtures are usually the result of hard water. As water evaporates, dissolved minerals such as calcium carbonate are left behind as a chalky buildup, and the problem is more common in hard-water or well-water areas because those supplies contain more lime and minerals, according to the source on toilet-bowl calcium buildup from HowStuffWorks.
That simple drying process explains most of what people call limescale. The water itself may look clear, but the minerals don’t disappear, they stay on the surface. Once the residue hardens, it becomes much harder to remove without some kind of mild acid or specialized descaler.
This is why some homes fight the same spots over and over
A home with hard water often develops a pattern. The same faucet tips, shower doors, and appliance parts show buildup first because those are the places where water repeatedly sits and dries. That’s also why the same cleaning trick that works on one fixture may fail on another, especially if the finish or material is sensitive.
The broader point is that mineral buildup isn’t random. It tracks with water composition, evaporation, and surface type. If you want a deeper primer on the plumbing side of that pattern, the explanation in Woder’s hard water guide is useful because it connects mineral content to what you see on fixtures.
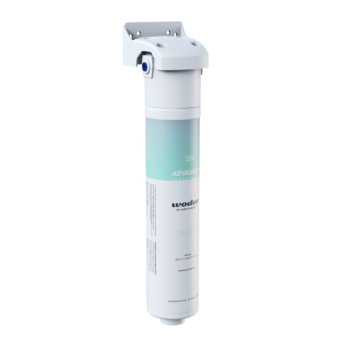
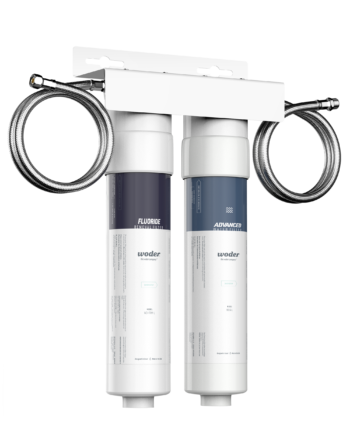
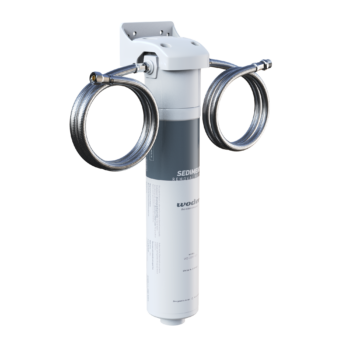
A practical filter example fits here too. The Woder WD-G4-DC Lead, Chlorine, HM and PFAS Water Filter is described as an under-sink system that uses selective filtration while retaining essential minerals, which is a different goal from cleaning a deposit after it forms.
What the buildup is telling you
If you’re seeing it mostly on fixtures, the water is probably drying in place and leaving minerals behind. If you’re seeing it across several rooms, the home may have a broader hard-water issue. Either way, the deposit is a clue, not just a nuisance.
How to Safely Clean Deposits from Different Surfaces
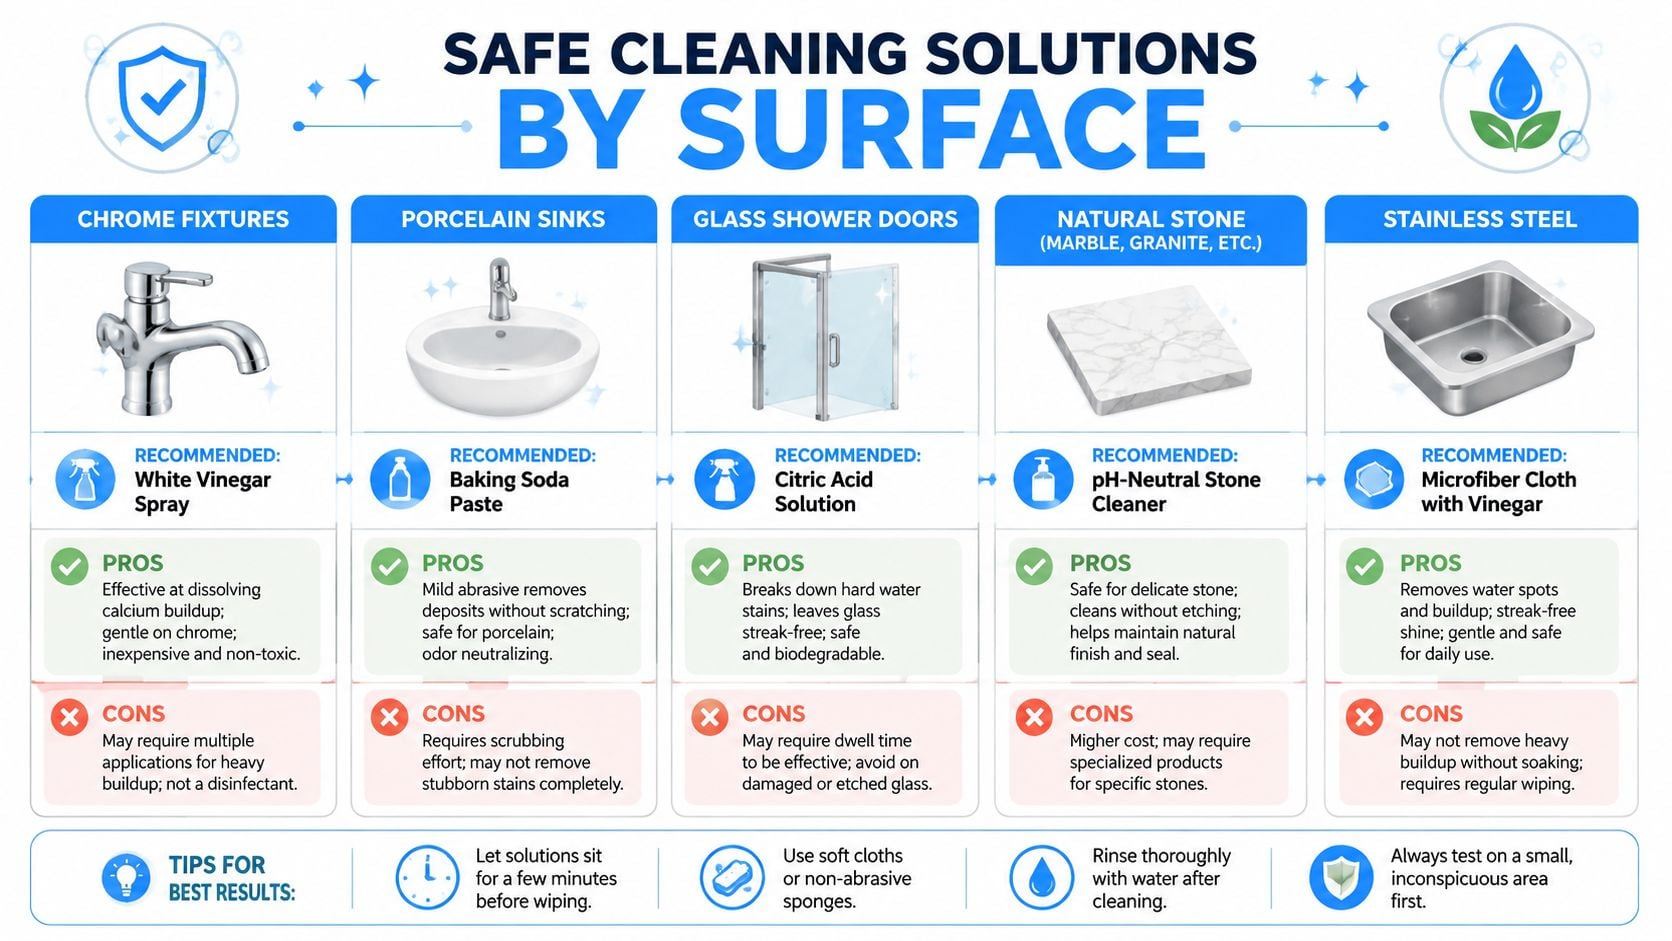
Chrome and stainless steel need a gentle touch
A faucet with chalky rings or a sink with dull white spots usually tempts people to scrub harder, but chrome and stainless steel respond better to restraint. Start with a soft cloth, warm water, and a mild acid such as white vinegar. A 50/50 vinegar-and-water mix can remove light deposits, and lemon juice can also help with softer buildup, according to Rainguard Pro’s mineral-deposit guide. Use the mixture briefly, then rinse and dry the surface so the minerals do not settle back as the water evaporates.
Keep abrasive tools away from chrome. Steel wool and rough pads can leave fine scratches, and those marks give new deposits more places to cling. A microfiber cloth or a non-abrasive sponge usually does the work with less risk to the finish.
Glass shower doors can handle more, but not everything
Glass often tolerates vinegar better than other bathroom surfaces, especially when the deposit is still thin. Let the cleaner sit for a moment, then wipe with a soft cloth or use a plastic scraper at a low angle. That approach lifts the mineral film without grinding it into the glass.
Test a small area first if the door has a coating or an etched pattern. Those finishes can react differently from plain glass, and the same cleaner that clears one door may haze another. A light hand matters more than force.
Stone and coated finishes need a different mindset
Natural stone is where many generic cleaning tips go wrong. Acid can etch stone, so vinegar and lemon juice are not universal answers on marble, some coated faucets, and other sensitive surfaces, as noted by Ocean Care Store’s discussion of acid damage. For those materials, use a stone-safe cleaner and finish with a dry cloth instead of leaving the surface wet.
That same caution matters if you are choosing materials for a bathroom that needs to stay easy to maintain. A practical design reference like guide to stunning bathroom tiles helps because texture and porosity affect how quickly deposits show, and some surfaces retain water longer than others.
Material rule: if you do not know the surface, do not start with acid. Test a hidden area first or choose the mildest cleaner that matches the material.
A few surface-specific habits that help
- Chrome fixtures: Use a vinegar wipe for light scale, then dry immediately.
- Glass doors: Apply cleaner, wait, and scrape lightly instead of scrubbing hard.
- Stone countertops: Stick to pH-neutral products and avoid vinegar unless the material is confirmed safe.
- Porcelain sinks: Start mild, then repeat rather than jumping to abrasive pads.
- Coated faucets: Test first, because some finishes react badly even to common household acids.
A Step-by-Step Method for Stubborn Buildup
Use the fixture itself as the guide
A faucet that sprays unevenly, or a showerhead with weak, off-center streams, usually tells you the deposits have moved past a cosmetic issue. Mineral scale is starting to narrow the openings. That is the kind of buildup where soaking works better than scrubbing harder.
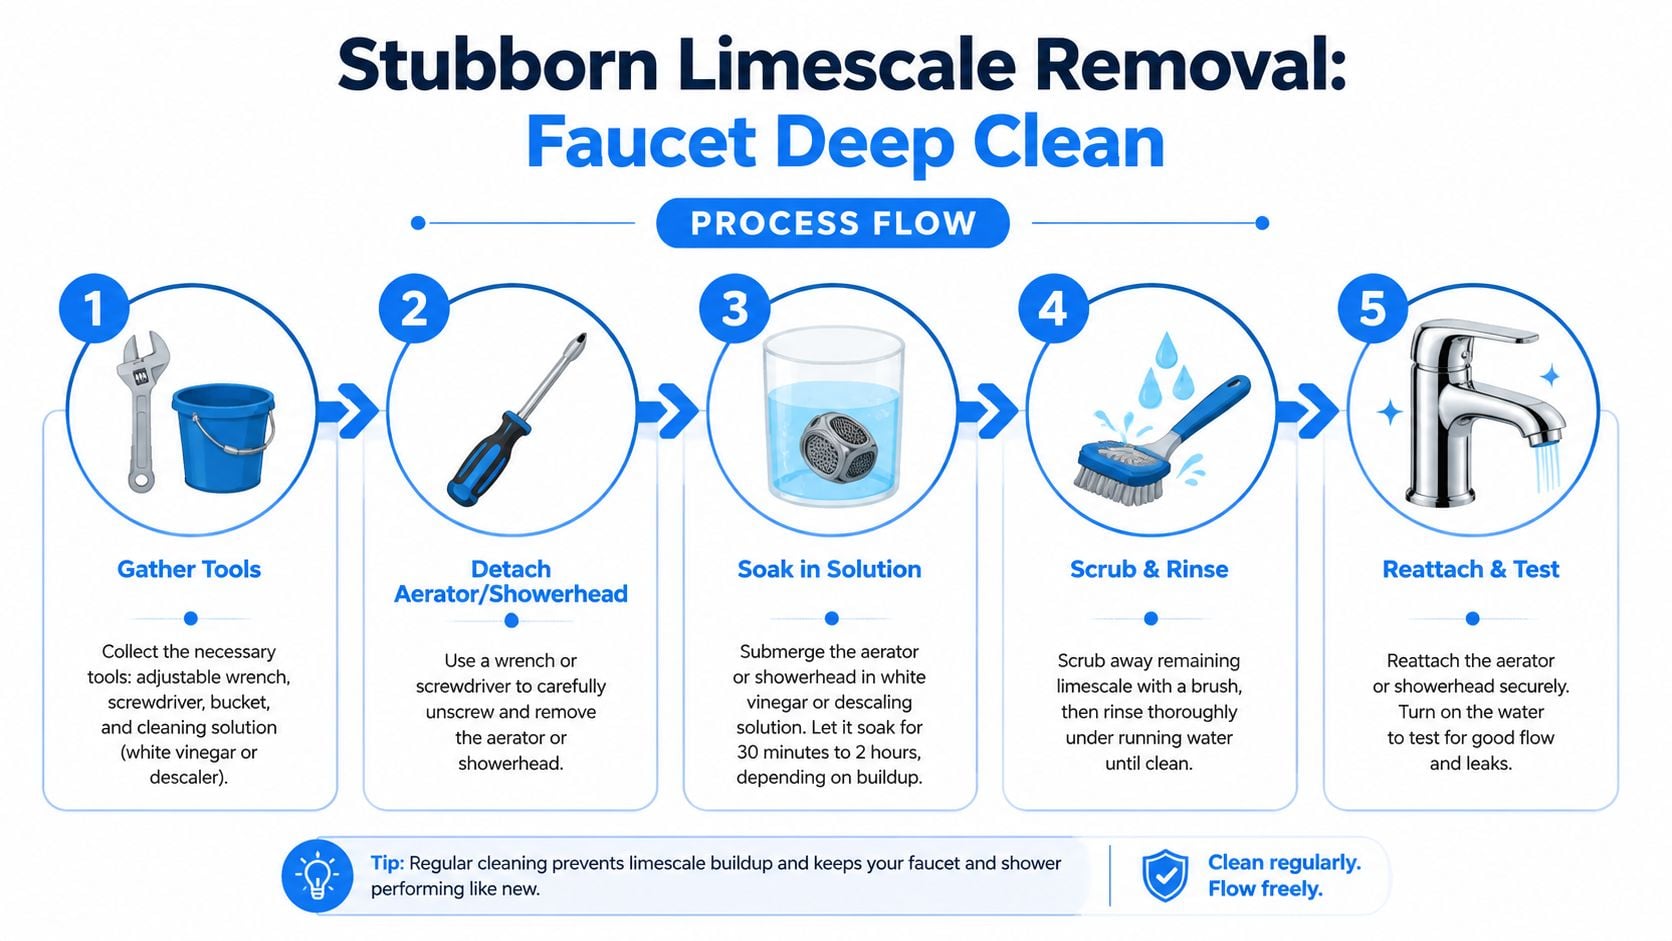
Remove the aerator or showerhead if it comes off without forcing the threads. Soak the part in a mild vinegar-and-water solution, because a gentle acid can loosen light to moderate scale without immediately risking the finish. A 50/50 mix of white vinegar and water is a practical first pass for stubborn calcium deposits, and the same basic approach is often used on softer buildup source.
After soaking, work the residue loose with a soft brush. A toothbrush usually reaches the small openings without chewing up the metal or plastic. Rinse thoroughly, check the spray pattern, then reattach the part and test the flow.
Work in the order that protects the finish
- Gather the tools. A small bowl, white vinegar, water, a soft brush, and a microfiber cloth are usually enough.
- Detach the part. Remove the showerhead or aerator carefully so you do not damage the threads.
- Soak it. Let the solution sit long enough to loosen the crust, then check the finish instead of walking away from it.
- Scrub and rinse. Clear deposits from the holes and crevices, then rinse well so loosened minerals do not dry back in place.
- Reassemble and test. Turn the water back on and confirm that the spray is even again.
For glass doors and other exposed surfaces, South Mountain Window Cleaning’s expert tips point to the same practical habit, remove the mineral film, then dry the surface so fresh spots do not set as fast. That drying step matters on faucets too. It slows the next round of spotting and reduces how quickly new minerals bond to the finish.
One more trade-off matters here. If the part is badly crusted, a longer soak can help, but if the finish is delicate, short intervals with a quick check are safer than leaving it unattended.
When to Stop Cleaning and Start Preventing
If you’re wiping the same faucet every few days, cleaning isn’t solving the underlying issue anymore. The buildup is still being created by hard water, and every cycle of dry, scrub, repeat costs time without changing the source. That’s why repeated descaling eventually becomes a maintenance loop rather than a fix.
The better line to draw is simple. Light deposits are a cleaning problem. Constant deposits are a water-quality problem. That distinction matters, and the discussion at Leak Experts USA on recurring calcium buildup points to the same practical question, when does spot cleaning stop being enough and the water need upstream treatment?
Prevention is usually easier than removal
Routine wiping helps, but it doesn’t change mineral content. If your fixtures, glass, and appliances keep crusting up, you’re better off looking at the water entering the home and deciding whether softening, selective filtration, or another approach makes more sense for the problem at hand. The right answer depends on whether you’re fighting scale, taste, or a larger water-quality concern.
For a broader look at those trade-offs, Woder’s water softener vs water filter guide is a good reference because it separates mineral management from contaminant reduction. Those aren’t the same job.
A practical outside perspective comes from South Mountain Window Cleaning’s mineral deposit tips, especially for glass surfaces where recurring spotting can be a sign that cleaning alone won’t keep up.
The Difference Between Hard Minerals and Harmful Contaminants
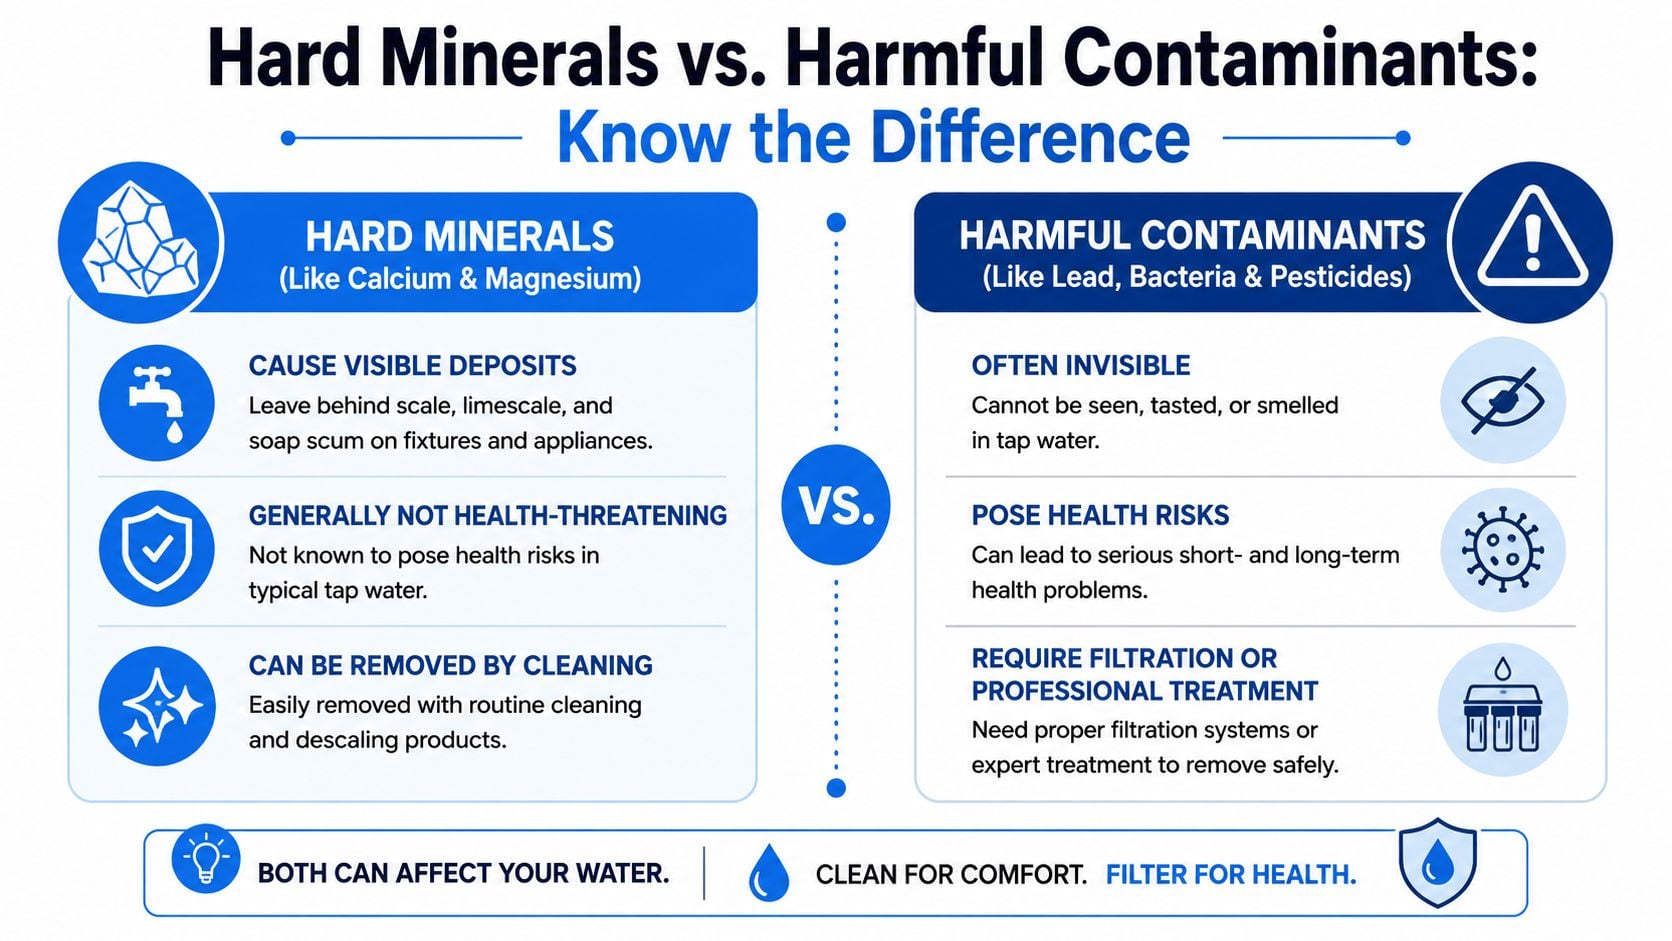
Calcium deposits are visible, contaminants usually aren’t
The minerals that leave scale behind, like calcium and magnesium, are not the same thing as harmful contaminants. They can be a nuisance on fixtures, and the scale itself can reduce appliance efficiency and lifespan, but that’s a different category from invisible pollutants that affect drinking-water safety. The distinction matters because cleaning a visible deposit doesn’t address what may be dissolved in the water.
That’s where a smarter filter strategy comes in. The goal isn’t to strip water down to nothing. It’s to remove the harmful stuff while leaving the naturally occurring minerals that belong in drinking water, which is the idea behind Woder’s Advanced Selective Filtration® approach.
Zero TDS isn’t the same as better water
A lot of homeowners get distracted by numbers that look tidy on a meter. But a zero-TDS reading only means the water has been stripped of dissolved solids, good and bad alike, which is closer to distilled water than to balanced drinking water. For a deeper explanation, see why TDS and PPM aren’t reliable stand-ins for water quality.
That’s the bigger framework behind this topic. Calcium scale tells you about hardness and drying behavior. Lead, PFAS, chromium, chlorine, and other contaminants are a different concern entirely, and they call for filtration rather than cleaning.
Bottom line: clean the deposit on the surface, then judge the water by what’s dissolved in it, not by what a meter number looks like.
If you’re sorting out whether you’re dealing with cosmetic mineral buildup, hard water, or a broader drinking-water concern, take a look at Woder Filters. Woder’s point-of-use systems are built to remove targeted contaminants while leaving essential minerals in place, which makes them a practical fit when you want better water at the tap without stripping it bare.