You’re probably under the sink right now, holding a filter kit in one hand and staring at a cold-water valve with the other, wondering whether this is a simple upgrade or the start of a plumbing mistake. That moment is normal. Most under-sink systems are built for a first-time DIY install, and the part that feels hardest is usually the cramped cabinet, not the plumbing itself, especially with compact point-of-use systems that are designed to fit standard shutoff-valve connections and can be installed without a plumber in many homes. The market for these systems is large and still growing, valued at USD 6.7 billion in 2024 and projected to reach USD 11 billion by 2034 with a 5.1% CAGR from 2025 to 2034, which helps explain why so many homeowners are trying this job themselves. gminsights.com
What follows is the practical version of how to install under sink water filter without making it harder than it needs to be. You’ll see how to prep the cabinet, connect the cold line, choose between a dedicated faucet and a no-drill route, flush the system, and handle the small leaks that show up when the water comes back on. If you’re the kind of person who wants clear water at the tap but doesn’t want to turn the kitchen into a construction zone, that’s the right place to start.
Table of Contents
- What the Job Actually Looks Like Under There
- Tools, Parts, and Pre-Flight Checks Before You Start
- Mounting the Filter and Tapping Into the Cold Line
- Choosing Your Faucet Setup, Including the No-Drill Option
- Turning the Water Back On and Flushing the Filter
- Troubleshooting the Small Problems That Show Up After Install
- Keeping It Working and Knowing What’s Next
What the Job Actually Looks Like Under There
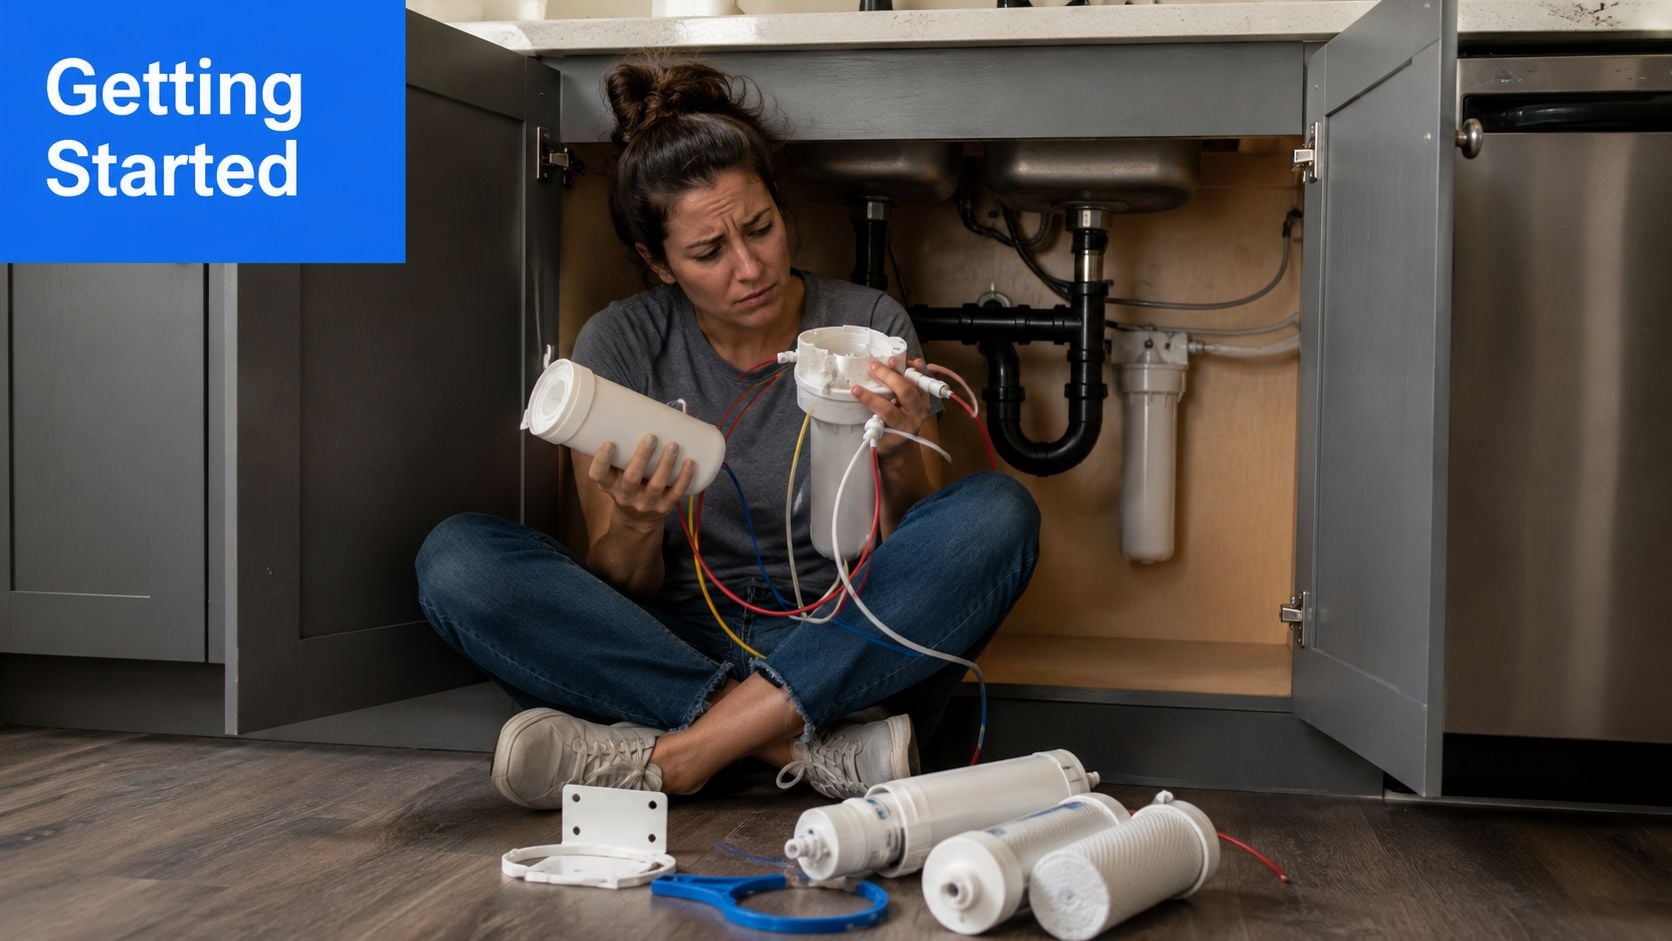
The first time you crawl under the sink, the parts usually look more complicated than the box photos suggest. The cabinet is part storage space, part plumbing puzzle, and it is normal to wonder whether this is a job you should have handed to a plumber. For most under-sink systems, the challenge is cabinet layout and access, not advanced plumbing skill.
What changes the job is the space, not the concept
Consumer guides point out that many under-sink systems are built around a dedicated faucet, which may mean using an existing hole or drilling a new one, while the plumbing connection itself stays straightforward. A simple install can take about 10 minutes with an adjustable wrench and, if brackets are involved, a screwdriver, after the cold-water valve is shut off and the adapter is attached. More involved reverse osmosis setups take longer, often about 45 to 90 minutes, because they can require a dedicated faucet hole and drain line. Consumer Reports
That is why the job feels different from a larger plumbing project. You are not replacing pipes or tearing out a sink. You are usually making a clean connection to the cold line, mounting the filter where it can be serviced later, then deciding whether the filtered water gets its own faucet or shares the existing one.
Practical rule: if you can shut off the water, connect an adapter, and check for drips, you can handle most under-sink installs.
If you want a visual reference before you start, this best under sink filter for remodel article from SouthRay Kitchen & Bath shows how the upgrade fits into a real kitchen layout. That helps because the install is easier when you can picture the finished cabinet instead of only the loose parts on the floor.
A quick water test can also keep the rest of the job from turning into guesswork. If you are not sure what is coming through the tap now, a simple check from Woder’s water testing guide can help you decide what kind of filter setup makes sense before you start drilling, mounting, or planning a faucet swap.
The rest of the work is about order, not force. Clear the space, make the connection, choose the faucet path, and test for leaks. Keep that sequence, and the project stays manageable, even if the cabinet is cramped or the shutoff valve feels stuck at first.
Tools, Parts, and Pre-Flight Checks Before You Start
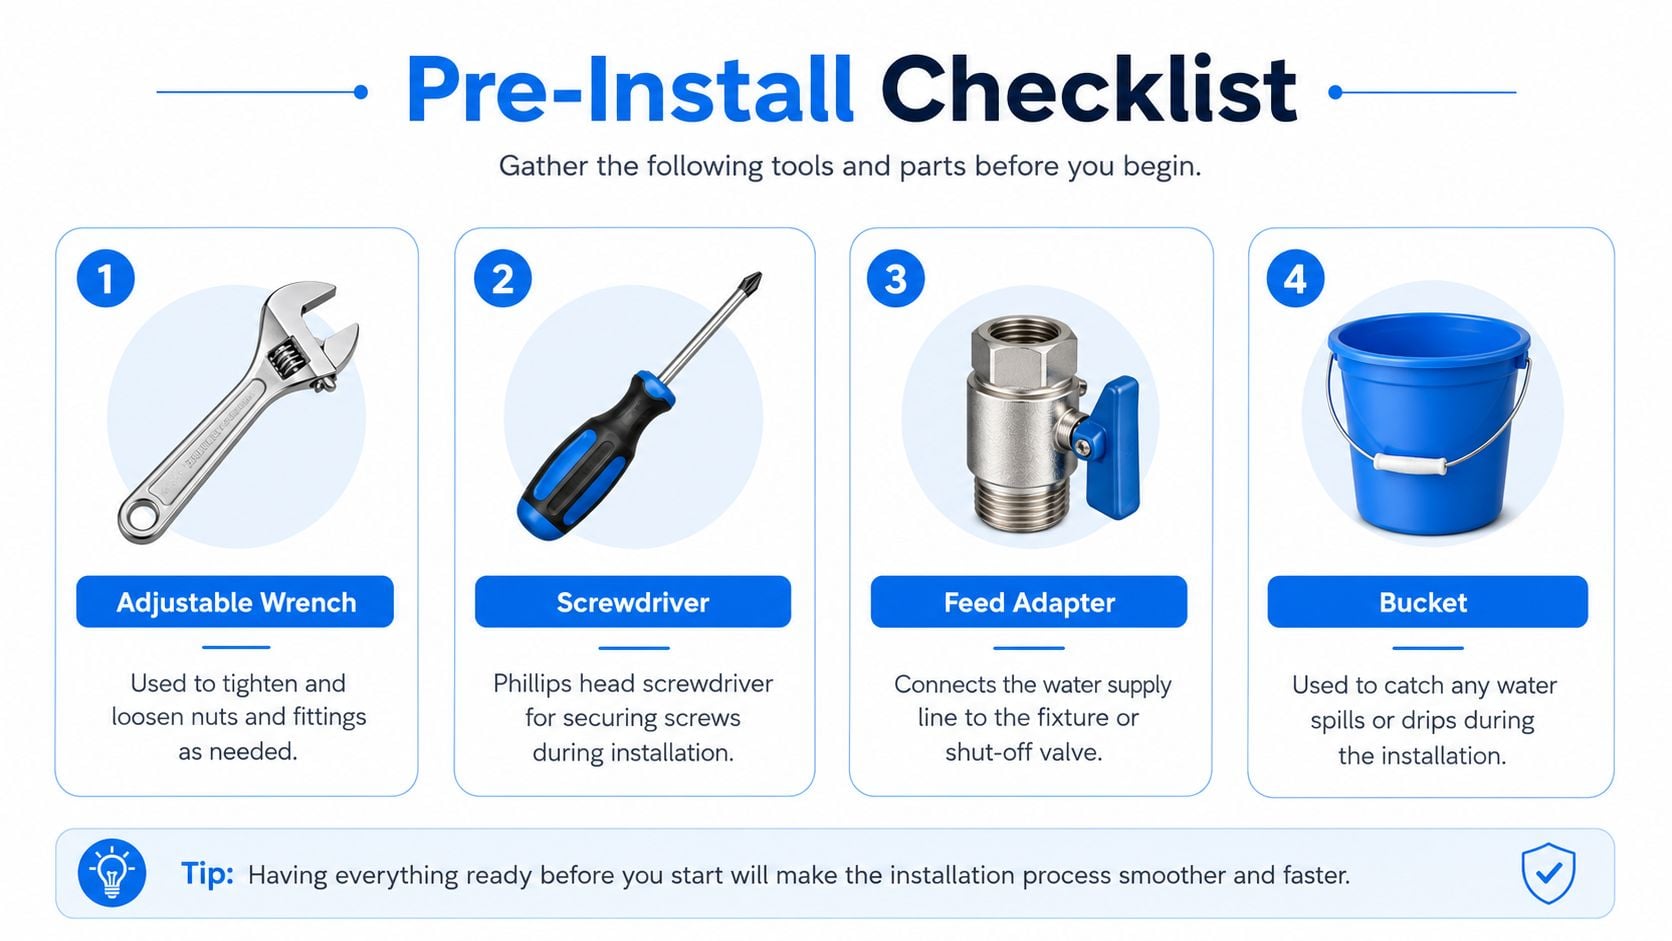
A smooth install starts with everything on the counter before you touch the valve. You want an adjustable wrench, a Phillips screwdriver for the mounting bracket if your system uses one, the supplied feed adapter and fittings, plumber’s tape for threaded connections that need it, and a towel for the drip that always seems to happen anyway. If the box includes a bracket, read that part first, because some filter heads mount differently than the photos suggest.
Check the cabinet before you touch the valve
A reliable installation guide starts with the cold-water line, then moves to cabinet clearance. Fresh Water Systems notes that the filter should be mounted with enough room to service it later, and one published guide specifies leaving at least 4 inches between the bottom of the cartridge and the cabinet floor so you can remove it without pulling the whole unit out. Fresh Water Systems
That clearance sounds small until you try to twist a cartridge free with a trash can, a pull-out organizer, and a cleaning caddy in the way. If the cabinet is cramped, move the stored items now. It’s much easier than discovering the filter can’t be changed without dismantling half the under-sink space.
Remember this: if the shutoff valve doesn’t close fully, stop and fix that first. An old valve that only partially seals can turn a simple install into a wet cabinet fast.
It also helps to confirm the water line you’re tapping is the cold-water supply and not the hot side. Most under-sink drinking systems are built for cold feed only, and hot water can damage cartridges that aren’t rated for it. If the line you plan to use feels wrong or is unclear, trace it back before you open anything.
If you’re stuck on valve location, this Voyager Plumbing shut off valve locations guide is a useful reference for figuring out where the main shutoff usually lives. For a broader water-quality check before or after installation, Woder’s test your water page is a practical next stop when you want to match the filter to what’s in your supply.
A steady setup here saves time later. Once the tools are out, the cabinet is clear, and the cold valve is identified, you’re ready to move.
Mounting the Filter and Tapping Into the Cold Line
Start by shutting off the cold-water valve, then open the kitchen faucet until the pressure drops and the flow stops. That little release matters. It clears the line so the adapter isn’t fighting residual pressure while you’re attaching it, and it keeps the first connection from spraying you or the cabinet floor.
Mount first, then branch the line
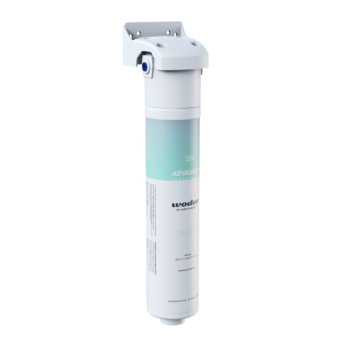
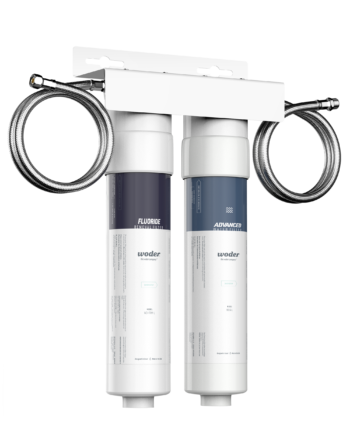
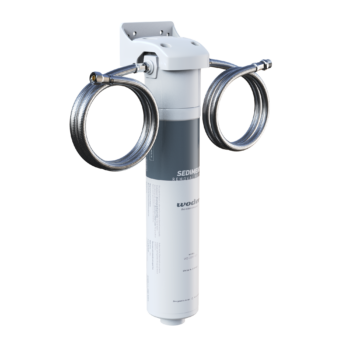
Once the line is quiet, mount the filter bracket to the cabinet wall or floor where the cartridge can still be removed later. Some systems use a one-piece body that hangs neatly once the bracket is secured, while others use separate head and canister parts. If you’re using a Woder WD-G4-210-DC Water Filter (New WD-4K-ADV-DC), the product snapshot says the Gen4 one-piece filter is meant for homes with whole-house sediment filtration or low sedimentation levels, and it replaces older WD-G4-210-DC family versions. It’s a useful example of a modern under-sink layout, because the installation still follows the same basic cabinet logic even when the body design changes.
Then tap into the cold line with the supplied compression tee or feed adapter. Hand-tighten the compression nut first, then give it a small turn with the wrench. That habit does more to prevent leaks than cranking hard from the start, because ferrules seal best when they seat cleanly instead of being forced sideways.
Keep the tubing smooth. A kinked line can slow the flow later, and a twisted line makes troubleshooting harder than it needs to be.
If your kit uses threaded fittings, wrap the threads with plumber’s tape before assembly. If the parts are push-to-connect, follow the box and skip the tape where it doesn’t belong. Not every connection wants the same treatment, and mixing methods is how people create leaks they didn’t need.
By the end of this part, the filter body should be mounted and the cold line branched off cleanly. At that point, the plumbing is in place, and the remaining choice is how the filtered water will reach the sink.
Choosing Your Faucet Setup, Including the No-Drill Option
Many install guides assume you own the house and have a spare hole waiting for a filtered faucet. That’s not everyone’s situation. If you’re in a rental or just don’t want to drill, the faucet decision matters as much as the filter itself.
Dedicated faucet or no-drill route
A dedicated filtered faucet gives you the cleanest daily setup. Consumer and home-improvement guides note that this path may involve drilling an extra hole in the countertop or sink, or using an existing unused opening such as a soap dispenser hole. The faucet then connects to the filter with the outlet line, often a small-diameter tube routed neatly through the cabinet and up to the sink deck. Consumer Reports, Home Depot
That setup is the one most homeowners like best once it’s in place, because filtered water has its own tap and doesn’t interrupt the main faucet. It’s also the path most aligned with permanent installs and remodels, especially if you already have a spare hole or deck plate to work with.
The no-drill option is the rental-friendly alternative. Instead of adding a new faucet, a diverter valve attaches to the existing faucet aerator and lets you switch between filtered and unfiltered flow. It’s simple, reversible, and practical when you can’t modify the sink. The tradeoff is that it can compromise flow rate and convenience compared with a dedicated tap.
Short version: if you can drill and you plan to stay, a dedicated faucet usually feels better day to day. If you can’t drill, a diverter can still give you filtered water without touching the counter.
The important thing is not to treat one option as second-class. A renter can still get very good filtration without making a permanent change, and a homeowner can still choose the simplest install path if the cabinet layout already supports it. The right setup is the one that fits the kitchen you have.
Turning the Water Back On and Flushing the Filter
Slowly open the cold-water shutoff valve and watch every fitting as the pressure returns. Don’t flip it open fast. A sudden surge can push past a half-tightened compression nut and soak the cabinet before you notice the drip. If the system holds, you’re past the part that makes many people nervous.
The flush is part of the install
Once everything stays dry, run the filtered faucet and let the water flow for several minutes or 5 to 10 minutes, depending on the cartridge instructions. SharkBite notes that this startup flush clears carbon fines and debris before normal use, and that step is part of the system’s startup mechanics, not an optional extra. SharkBite
The first water may look cloudy or taste a little off for a short time. That usually comes from loose carbon dust settling out of a new cartridge. It doesn’t mean the install failed. It means the filter is doing what new filters often do when they first fill.
If you’re filling a cup during the flush, use a bucket or let the water run straight into the sink so you’re not staring at the first cloudy glass and wondering what went wrong. The line should clear as the media rinses out.
After that, shut the faucet off and check the cabinet again. Dry fittings now save time later. If anything is damp, you’ve got the clue you need before the cabinet turns into a surprise leak box.
Troubleshooting the Small Problems That Show Up After Install
Most post-install problems are small, and the fix is usually simpler than the symptom makes it feel. A leak doesn’t automatically mean the whole setup is wrong. It usually means one fitting isn’t seated, one line is pinched, or the cartridge hasn’t finished flushing.
The usual culprits and the quickest fix
- Drip at the compression fitting: The ferrule probably didn’t seat cleanly. Tighten the nut 1/4 turn and check again, or disassemble and reset the connection if it keeps weeping.
- Low water pressure: Look for a partially closed shutoff, a kinked line, or a filter that’s still finishing its flush. In some cases, the system just needs a little more purge time before flow feels normal.
- Cloudy water: That’s usually carbon-fine carryover and should clear on its own after the initial flush.
- Plastic or chemical taste in the first glasses: The flush was too short. Run the water for another 5 minutes and taste it again.
A separate issue people sometimes mistake for a filter problem is chlorine taste coming back after install. Woder’s chlorine taste after filtering hidden causes and fixes article is useful when the taste doesn’t match what the system should be doing. The point isn’t to panic. It’s to separate a real install issue from a normal startup effect.
A few minutes of checking is usually enough to solve the problem. If the cabinet is dry and the flow is steady, the system is probably fine.
The main thing to avoid is redoing the whole install too early. Most of these issues come from a single loose or partially seated connection, not a bad system. Tighten, purge, and look again before you assume something bigger is wrong.
Keeping It Working and Knowing What’s Next
A good install only stays good if the cartridge stays in service. Most under-sink filters need replacement on a regular schedule, and the warning signs often show up before the calendar does, like falling flow, a returning chlorine taste, or visible discoloration of the media. If you want a practical reminder of service life, Woder’s how long does a water filter last article is a useful reference point.
For homes with specific concerns, a lab water test before or after install can help confirm whether the filter choice matches the actual water coming in. That matters for issues like PFAS, lead, and other contaminants because the right filter choice depends on the supply, not on a marketing claim. If the water quality is unclear, test first, then choose.
If the install is done and the water tastes right, the next useful decision is whether the filter you picked is the right fit for your home over time. Woder Filters offers U.S.-made point-of-use systems, under-sink and inline options, and guidance for matching filtration to the water at your tap. If you want to compare your setup with a mineral-retaining approach built for everyday drinking water, visit Woder Filters and look at the options with your cabinet, your faucet, and your water in mind.