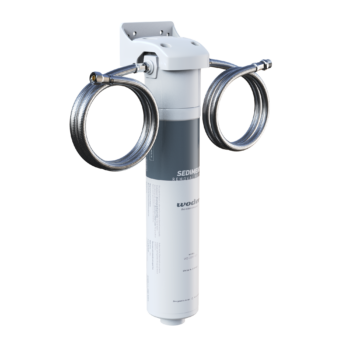
The first sign that a filter needs attention is usually not a dramatic leak. It's a faucet that runs a little slower, water that tastes a little flat, or a cartridge housing that looks simple until you crack it open and find pressure still trapped inside. That's why knowing how to replace water filter systems safely matters just as much as knowing which cartridge to buy.
A clean swap is usually straightforward. The part that goes wrong is the plumbing around it, especially pressure relief, O-ring care, and the final flush that clears air and carbon fines before the filter goes back into daily use.
Table of Contents
- Why Most Filter Replacements Go Wrong
- Knowing When Your Filter Needs Replacement
- Preparing Your System and Relieving Pressure
- Swapping the Cartridge and Reassembling the Housing
- Flushing the New Filter and Verifying Performance
- Troubleshooting Leaks and Flow Problems After Installation
Why Most Filter Replacements Go Wrong
A homeowner usually starts with the cartridge itself and assumes that's the whole job. In practice, the cartridge is the easy part. The failures happen around it, when someone opens a pressurized housing too soon, pinches the seal on reassembly, or skips the flush and wonders why the water tastes odd afterward.
The real weak points are predictable
Residual pressure is the first problem. DIY installation guides consistently tell you to shut off the incoming valve and open a downstream faucet before loosening the housing, because the trapped pressure is what sends water everywhere when the canister breaks free. The other common failure is seal damage, especially when an O-ring gets twisted, dry, or overtightened on the way back together. A plastic housing doesn't forgive brute force.
Practical rule: if a filter change leaks, the cause is usually at the seal or the pressure, not in the new cartridge itself.
There's a reason this feels harder the first time. A filter replacement is a small plumbing procedure, not a parts swap. Once the pressure is gone and the gasket is treated carefully, the job gets much more forgiving.
That's also why many people think they “broke” something when the first attempt goes badly. More often, they just followed the right sequence in the wrong order. The housing should be opened after pressure is relieved, the new cartridge should be seated gently, and the system should be brought back online slowly so leaks show up before the housing fully loads.
A good replacement is quiet. No spray, no crossed threads, no surprise drip on the cabinet floor. If those things happen, the fix usually starts with the same three basics, pressure, seal, and flush.
Knowing When Your Filter Needs Replacement
A calendar helps, but it does not tell the whole story. Most household filters are replaced on a time-based cycle of about 2 to 12 months, depending on filter type and water quality, with common benchmarks of 2 months for pitchers or dispensers, 3 to 4 months for faucet-mount filters, 4 to 6 months for refrigerator filters, and 6 to 12 months for under-sink carbon filters, plus some filters rated around 100 gallons or roughly four months, whichever comes first source. Those are useful guardrails, but they are not the only signal.
Replacement schedules and real-world signals
A cartridge can still let water through while doing a weaker job than it did when new. When filter media traps chlorine, sediment, and other contaminants, it loses adsorption capacity. Reduced flow is one clue, but taste, odor, and visible sediment matter too.
- Reduced pressure or slower flow: Often means the media is loading up with sediment or the cartridge is nearing capacity.
- Taste or odor coming back: Usually points to exhausted carbon performance, especially with chlorine.
- Visible particles or discoloration: Suggests the filter is no longer catching what it used to.
- Indicator light or service timer: Useful, but only if the system was installed and flushed correctly.
For households that care about contaminants like lead, PFAS, or chromium, the harder question is whether a filter still performs before the date on the calendar. Water testing answers that better than guessing. If incoming water quality varies or the home uses more filtered water than expected, condition-based replacement makes more sense than relying on a fixed date alone.
The basic rule is simple. Replace on schedule when you have no better data, and replace sooner if the flow changes, taste changes, or a test result suggests the cartridge has done its job. A filter that still passes water is not automatically protecting as well as it did on day one.
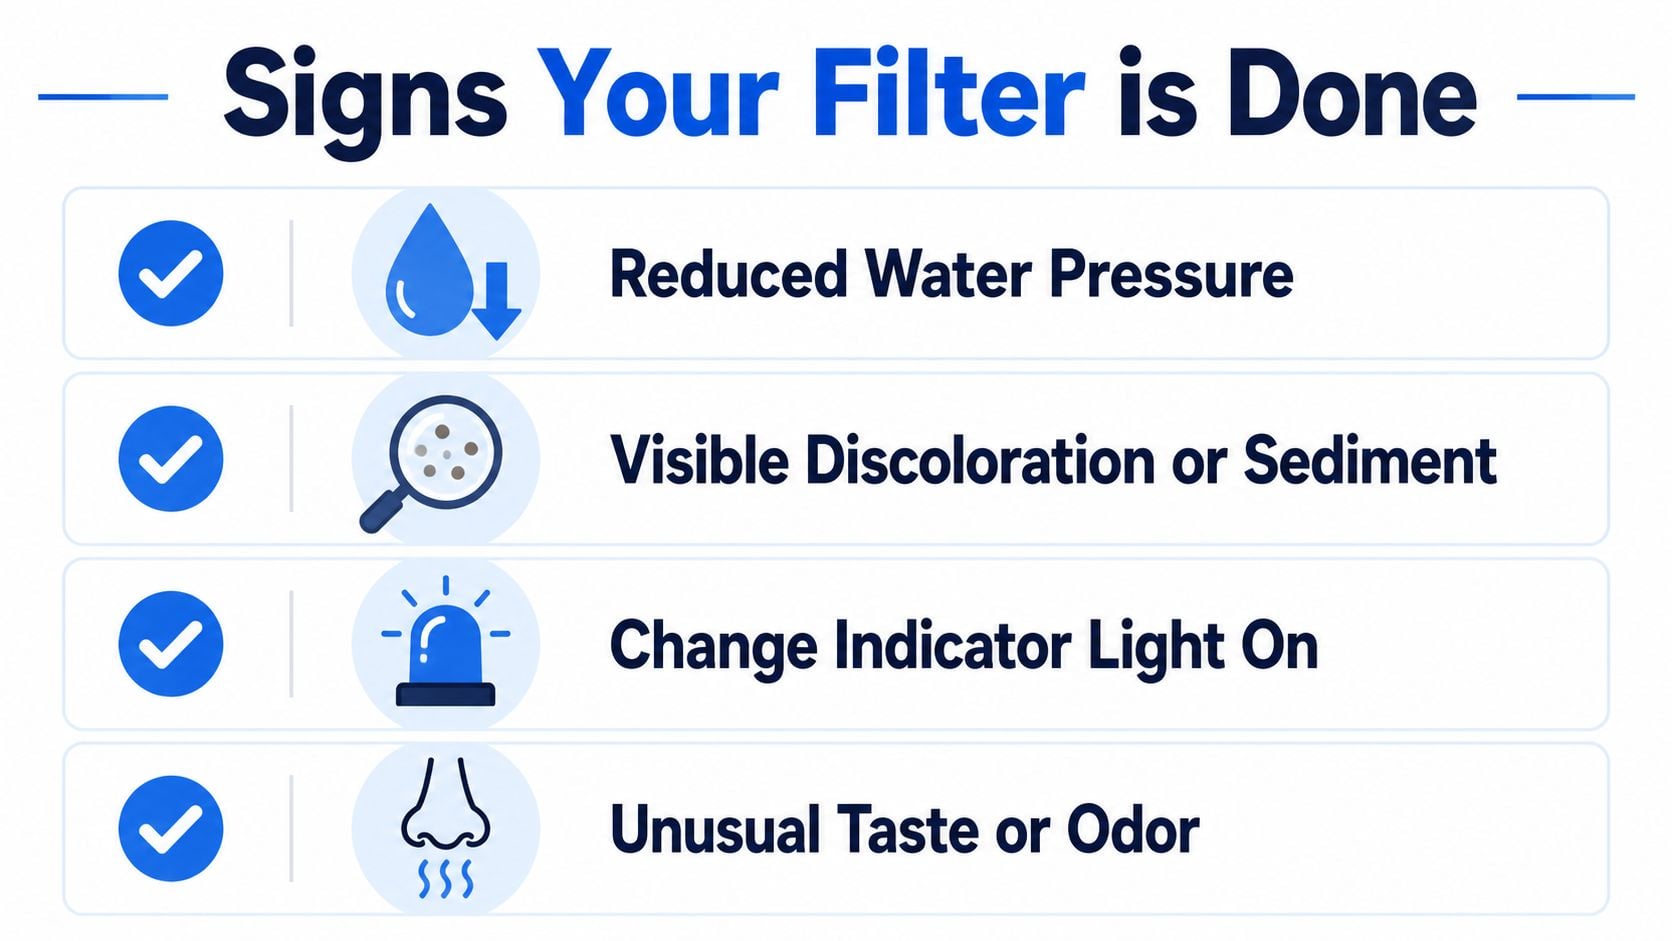
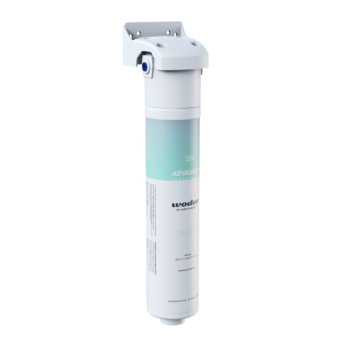
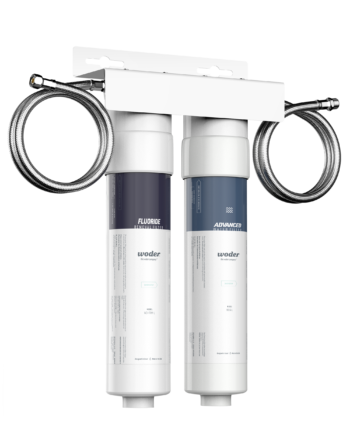
If you want a simple reference point for replacement timing, keep a copy of the Woder's filter replacement schedule. For a more specialized setup, a product such as Woder WD-G4-DC Lead, Chlorine, HM and PFAS Water Filter is positioned around advanced selective filtration while retaining essential minerals, with WQA-cited NSF/ANSI 42 and NSF/ANSI 372 references in the product snapshot.
Time still matters because filter media wears out even in a low-use home. Usage volume and water quality can shorten the useful life, especially when the incoming supply carries more sediment or chlorine than expected. If the cartridge is rated for a certain interval and your household pushes a lot of water through it, the calendar alone will not protect you.
The cleanest way to think about it is this. Time tells you when to look. Performance tells you when to act. If your system has an indicator light, treat it as a reminder, not a guarantee. If it has no indicator at all, watch the water itself and pay attention when the change becomes noticeable.
Preparing Your System and Relieving Pressure
The safest filter swap starts before the housing moves at all. Shut off the incoming water, then open a downstream faucet to bleed off trapped pressure. That single step keeps the canister from spraying water when it opens, and it makes the housing easier to loosen.
Set up for the spill you don't want
Place a bucket or towels under the housing before you touch the wrench. A little residual water is normal, and a little planning saves a lot of cabinet cleanup. Have the wrench, the new cartridge, and silicone grease ready so you're not hunting around with the housing half open.
A housing that feels stuck is often just holding pressure. Release that pressure first, then try again.
For whole-house and under-sink cartridge swaps, the sequence is consistent across guides. Shut off the valve, open a faucet, then loosen the canister. If the housing has a pressure-release button, use it. If it doesn't, the faucet does the job.
A refrigerator filter is simpler. Most refrigerator systems don't require shutting off the household supply, and the cartridge usually twists or pushes in without tools. That's why refrigerator changes feel quicker, even though they still need a proper flush afterward.
Once the line is depressurized, the housing is much less likely to fight you. That's the hidden difference between a clean change and a messy one. A lot of homeowners assume the wrench is the hard part, but the hard part is getting the system into a safe state before the wrench ever turns.
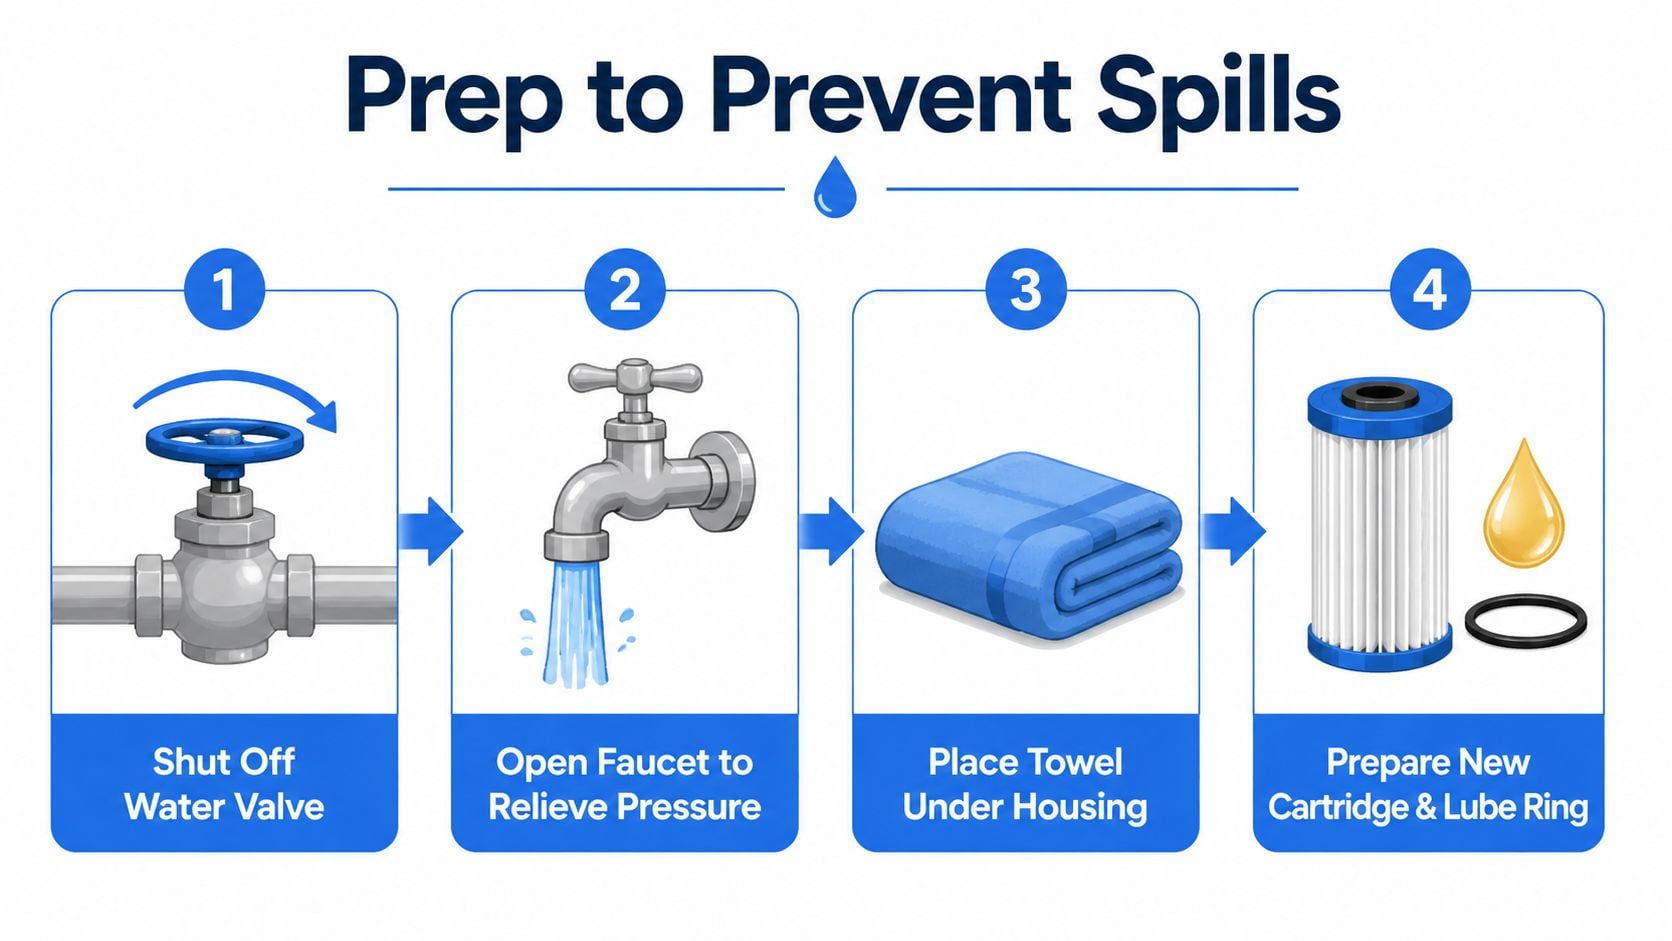
The same pressure-first approach is what you'll see in a broader DIY walkthrough like Woder's cartridge replacement guide. The tool-light refrigerator approach is different, but the principle stays the same, get the system calm before you open it.
Don't rush the first turn
If the housing still won't budge, stop and check the setup rather than forcing it. The canister may still be carrying pressure, or the wrench may not be seated squarely. For plastic housings, that matters. Cross-threading or slipping the wrench can turn a routine job into a damaged housing.
Swapping the Cartridge and Reassembling the Housing
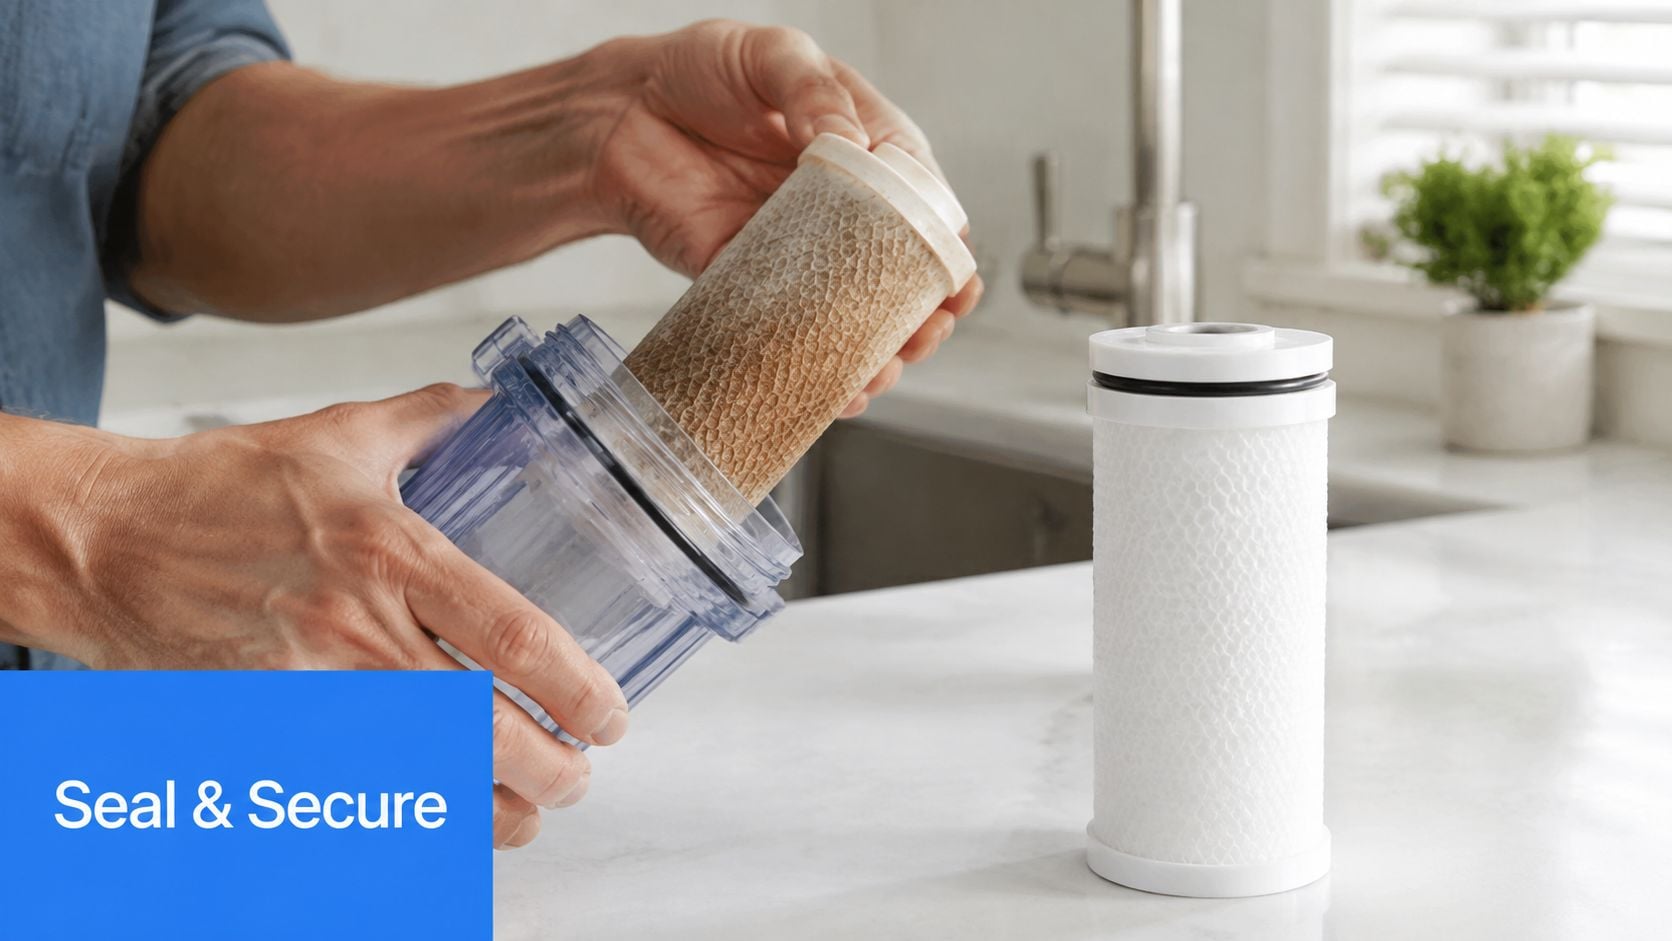
Once the housing is open, remove the old cartridge and inspect the inside of the sump. Wipe out any grit or loose carbon, then look closely at the O-ring. If it's dry, pinched, flattened, or out of its groove, fix that before you install the new cartridge.
Seal care matters more than force
Apply a light coat of silicone grease to the O-ring so it seats smoothly. That small step helps the seal slide into place instead of twisting when the housing tightens. It also makes the next replacement easier, which is why installers do it even when the old gasket looks fine.
Hand-tight is the goal. After that, a quarter-turn is enough. More force doesn't improve the seal, it can deform the O-ring and make the next change much harder. On plastic housings, over-tightening is a common mistake because people assume tighter means safer. It usually doesn't.
Keep the seal clean and the threads straight. If the housing starts crooked, back it off and start again before the threads bite.
Refrigerator cartridges are simpler, but the same discipline applies. Align the tabs or push-fit connection carefully, seat the filter fully, and only then reset the cover or locking mechanism. If the cartridge isn't fully engaged, the dispenser can restrict flow or leak at the manifold connection.
When the reassembly feels too easy or too hard, pause and check the fit. A cartridge that drops into place cleanly is what you want. A cartridge that needs force usually means alignment is off.
After you seat the housing, bring the water back slowly. Don't slam the valve open. Slow pressurization gives you time to catch seepage before the housing loads fully.
There's a short visual guide here if the physical sequence is still giving you trouble, and it's useful to compare it to the parts in front of you:
The same logic applies whether the system is under the sink or on the refrigerator line. Seat the part, preserve the seal, tighten only enough to hold pressure. Anything beyond that makes the next maintenance cycle worse, not better.
Flushing the New Filter and Verifying Performance
A new cartridge is not ready the moment it is installed. It needs a flush to clear loose carbon fines, air pockets, and any residual manufacturing material. Consumer guidance commonly uses about 2 to 3 gallons before regular use source. Whirlpool's refrigerator guidance calls for four gallons after replacement, while whole-house installation guides often use 3 to 4 gallons or 5 to 10 minutes of flow as the cleanup window source.
Watch the water, not just the stopwatch
The first water may spit or sputter. That is air getting pushed out of the line. You may also see a bit of black carbon fines at the start, especially with activated carbon cartridges. That is normal during the first flush, and it should clear as the line stabilizes.
Reset the indicator light only after the flush is finished. If you reset it early, the timer starts from installation time instead of actual use, and that makes the replacement schedule less accurate. Whirlpool also ties the indicator reset to the post-flush process, reinforcing the same sequence source.
A good flush ends with clear, steady flow and no sputtering. If the stream still looks cloudy after a reasonable flush, keep running water for a bit longer. If it stays cloudy well past the expected cleanup period, the issue is more likely a seating problem or trapped air than a bad cartridge.
The point of this step is not just taste. It confirms that the system is sealed, purged, and delivering water the way it should. If the flush feels uneven, that is useful information, not a failure.
Flush until the water runs clear and stable. That is the moment you know the line is behaving normally again.
Troubleshooting Leaks and Flow Problems After Installation
Most post-install problems fall into a small number of patterns. A slow drip at the housing seam usually points to an O-ring that isn't seated correctly, is twisted, or has been pinched. Sputtering often means air is still trapped in the line. Reduced flow can come from a cartridge that isn't fully seated or from debris that shifted during the change.
Match the symptom to the fix
- Drip at the seam: Shut the water off, depressurize again, open the housing, and check the O-ring groove. If the ring is damaged or flattened, replace it.
- Sputtering or air bursts: Keep flushing the line in short runs until the flow steadies. Trapped air usually clears with use.
- Flow feels weak: Confirm the cartridge is fully locked or seated, then inspect for kinks, debris, or a housing that went back together unevenly.
- Cloudy water beyond the first flush: Continue flushing for a bit longer, then recheck seating and seal position if the cloudiness doesn't clear.
If the leak gets worse after re-pressurizing, stop and reset the housing rather than tightening harder. That's usually a seal problem, not a torque problem. If the cartridge still won't seat correctly after one careful retry, the part or the housing may be damaged.
For faucet-side issues that look like a bad filter but turn out to be a bad connection, a dedicated check of the faucet interface can save time. A simple walkthrough such as Woder's faucet replacement guide can help you separate a cartridge issue from a fixture issue.
The main thing to remember is that most leaks are fixable at home if you slow down and trace the symptom. A stubborn seam drip is not a reason to panic, it's a reason to reopen the housing, inspect the seal, and reassemble with less force and better alignment.
Woder Filters offers under-sink and inline point-of-use systems designed around Advanced Selective Filtration®, which removes targeted contaminants while keeping essential minerals in the water. If you're replacing a filter because the old one is overdue, leaking, or no longer performing the way it should, visit Woder Filters to review replacement cartridges, installation resources, and product options that fit this kind of maintenance routine.